Homelab Host: Server Build from Spare Parts
This is the box the homelab runs on, and the hardware half of that project. I wanted something I could leave switched on as a server without buying anything, so it's built from parts left over from other machines. Proxmox was the plan from the start. The build is photographed step by step because hardware is the part of IT I learned first and can show most easily.
- Hardware
- PC Build
- Proxmox
- Homelab
Built from spare parts
The goal here was a cheap, always-on server rather than a showpiece. Everything in it was a spare part — components left over from other builds and upgrades — so the build cost me almost nothing and gave the parts a second life.
It's nothing exotic: a 9th-gen Intel i5 on a budget micro-ATX board, two sticks of DDR4, a small SSD to boot from, and an old graphics card to give it a display output. Modest, but more than enough to run Proxmox and a handful of virtual machines.
- CPU
- Intel Core i5-9400F (9th Gen, 6-core)
- Motherboard
- ASUS Prime H310M-R R2.0 (micro-ATX)
- Memory
- 16GB DDR4-2400
- Graphics
- Nvidia GTX 760 (Gigabyte Windforce)
- Storage
- 120GB Kingston UV400 SSD
- Networking
- TP-Link PCIe Wi-Fi adapter
- Cooling
- Intel stock cooler
- PSU
- 550W ATX
Laying out and checking the parts
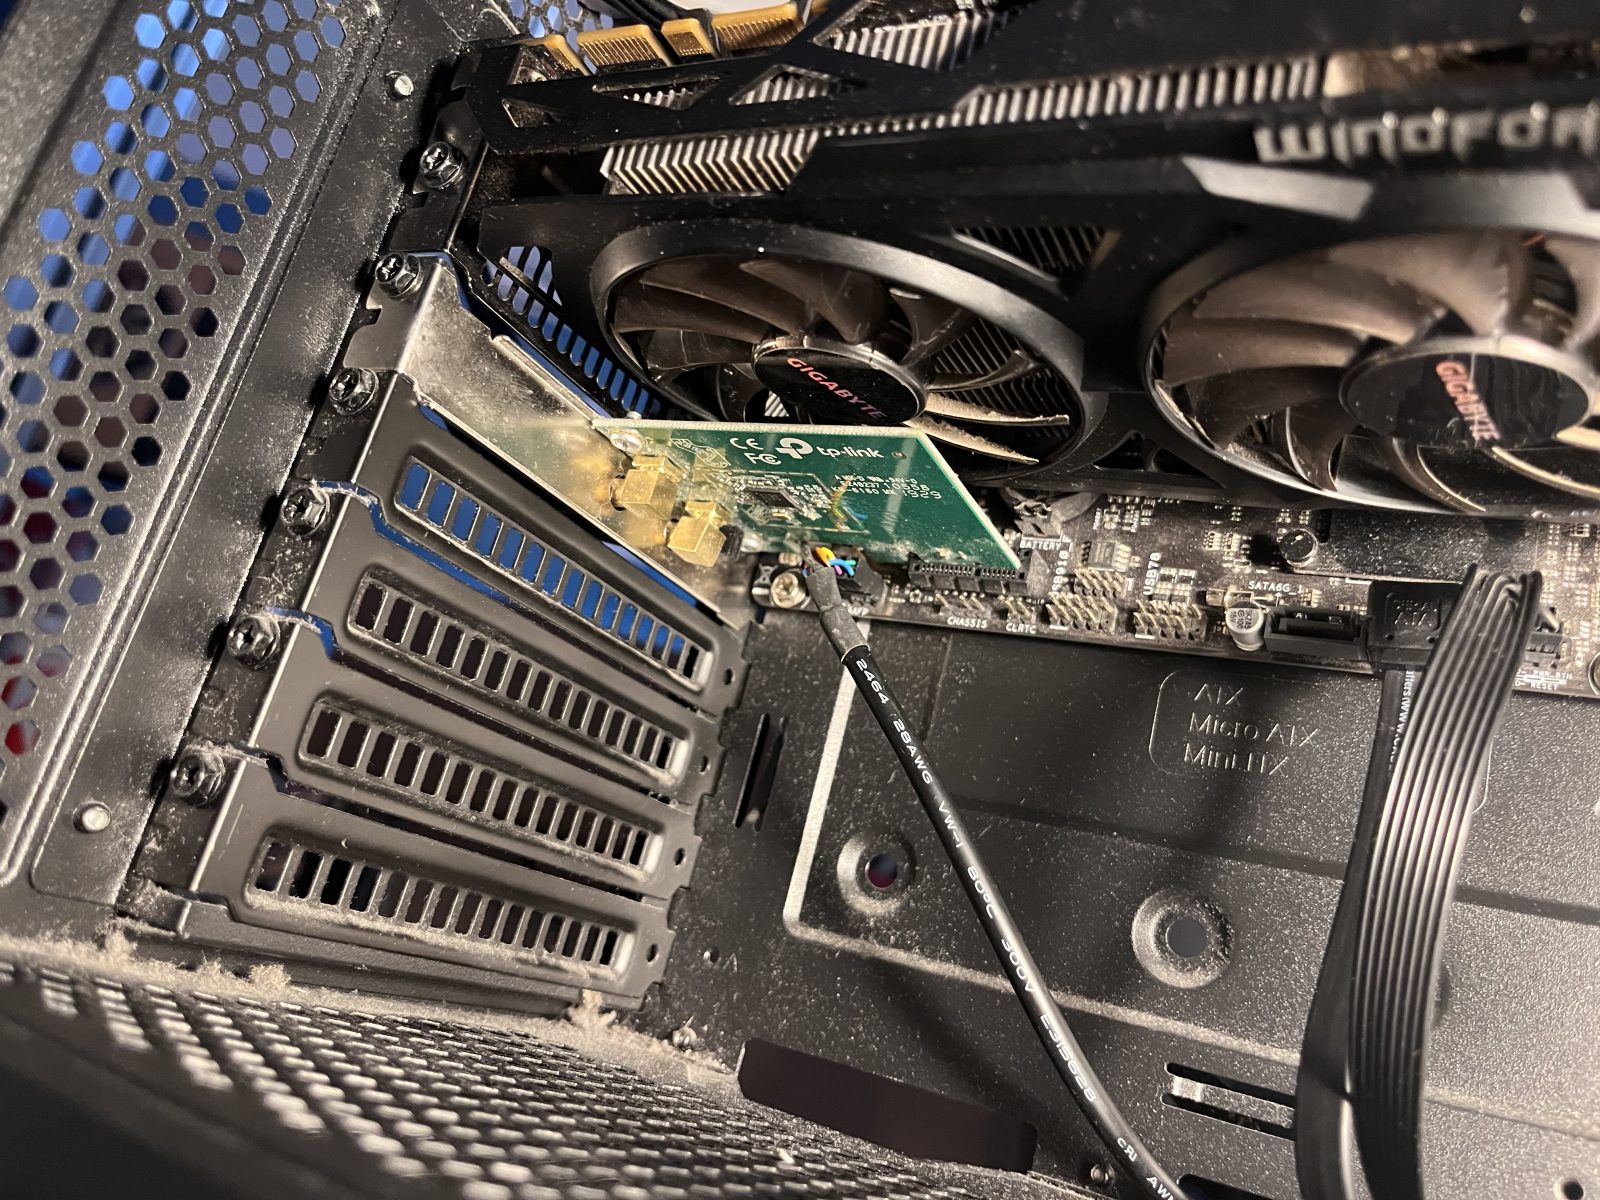
Before touching a screwdriver I laid everything out and checked it over — board, CPU, cooler, memory, storage, graphics card, Wi-Fi adapter and power supply all present and undamaged. The i5-9400F is an 'F' chip with no integrated graphics, so the GTX 760 isn't optional here: it's what gives the machine a display output to set Proxmox up with. A small PCIe Wi-Fi card goes in too, so the server isn't tied to a network cable.
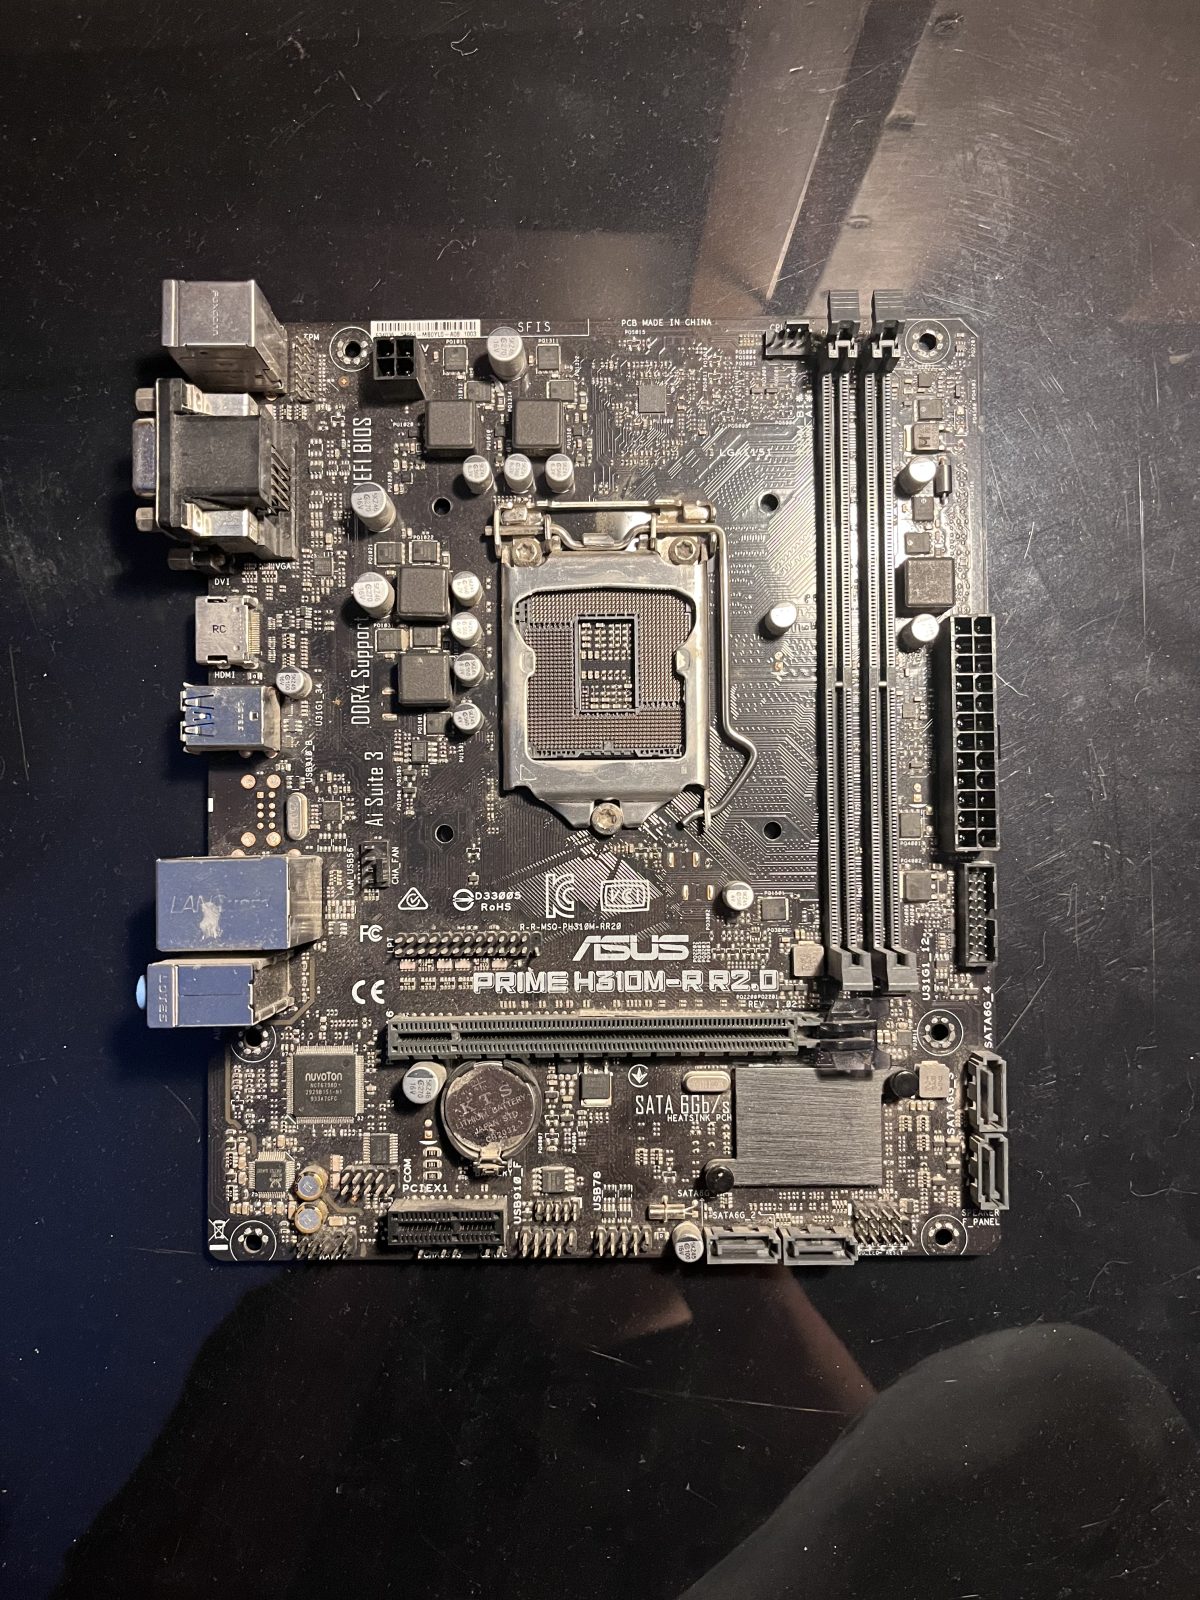
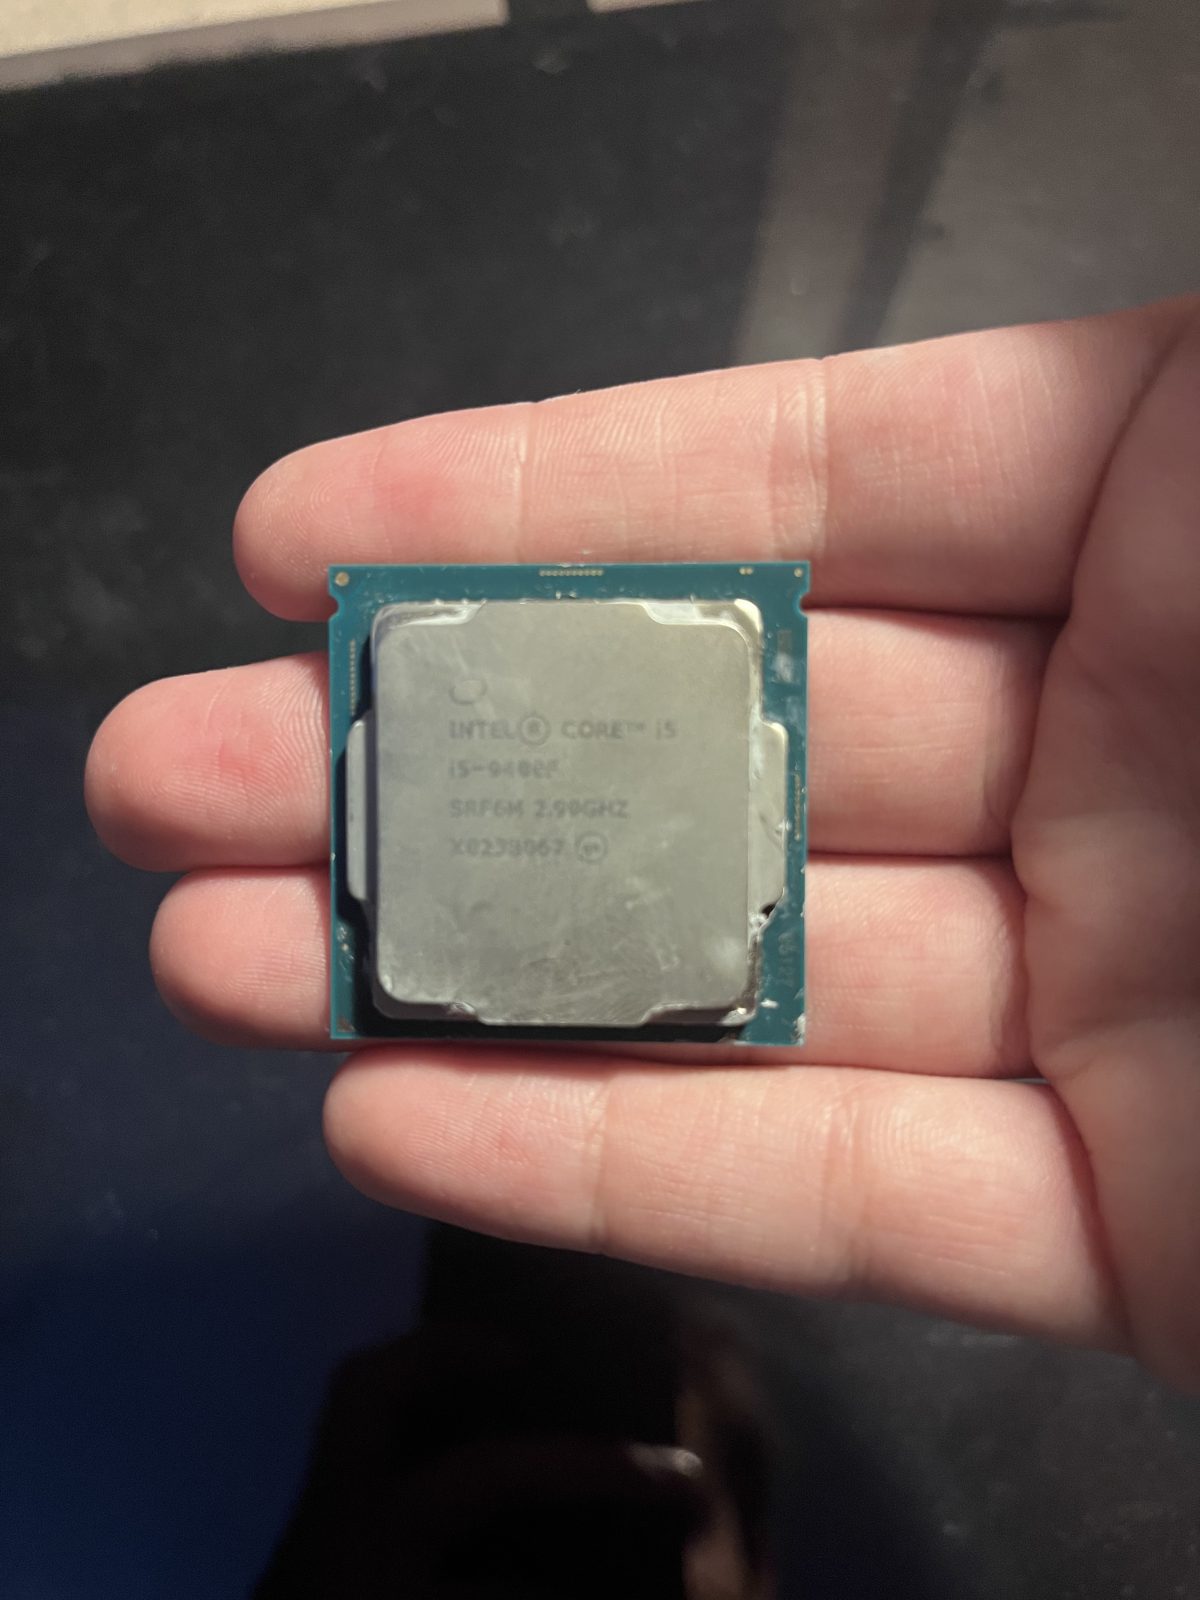
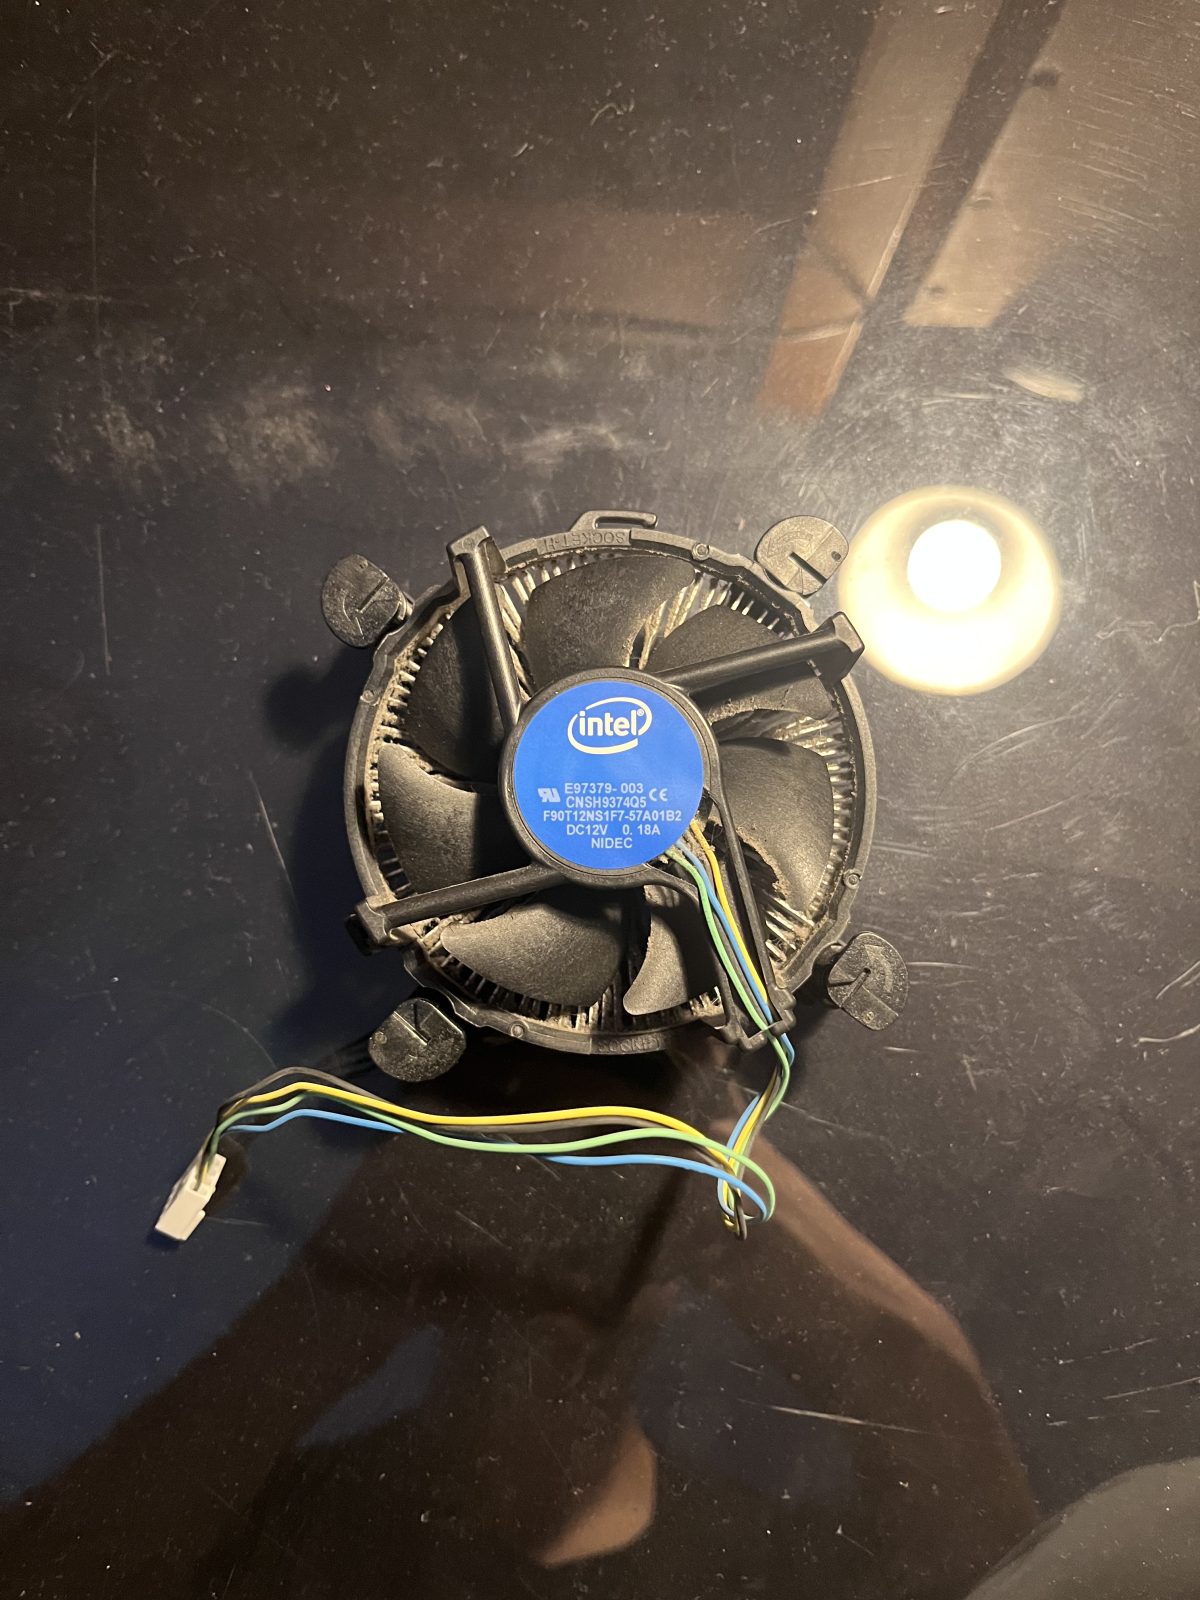
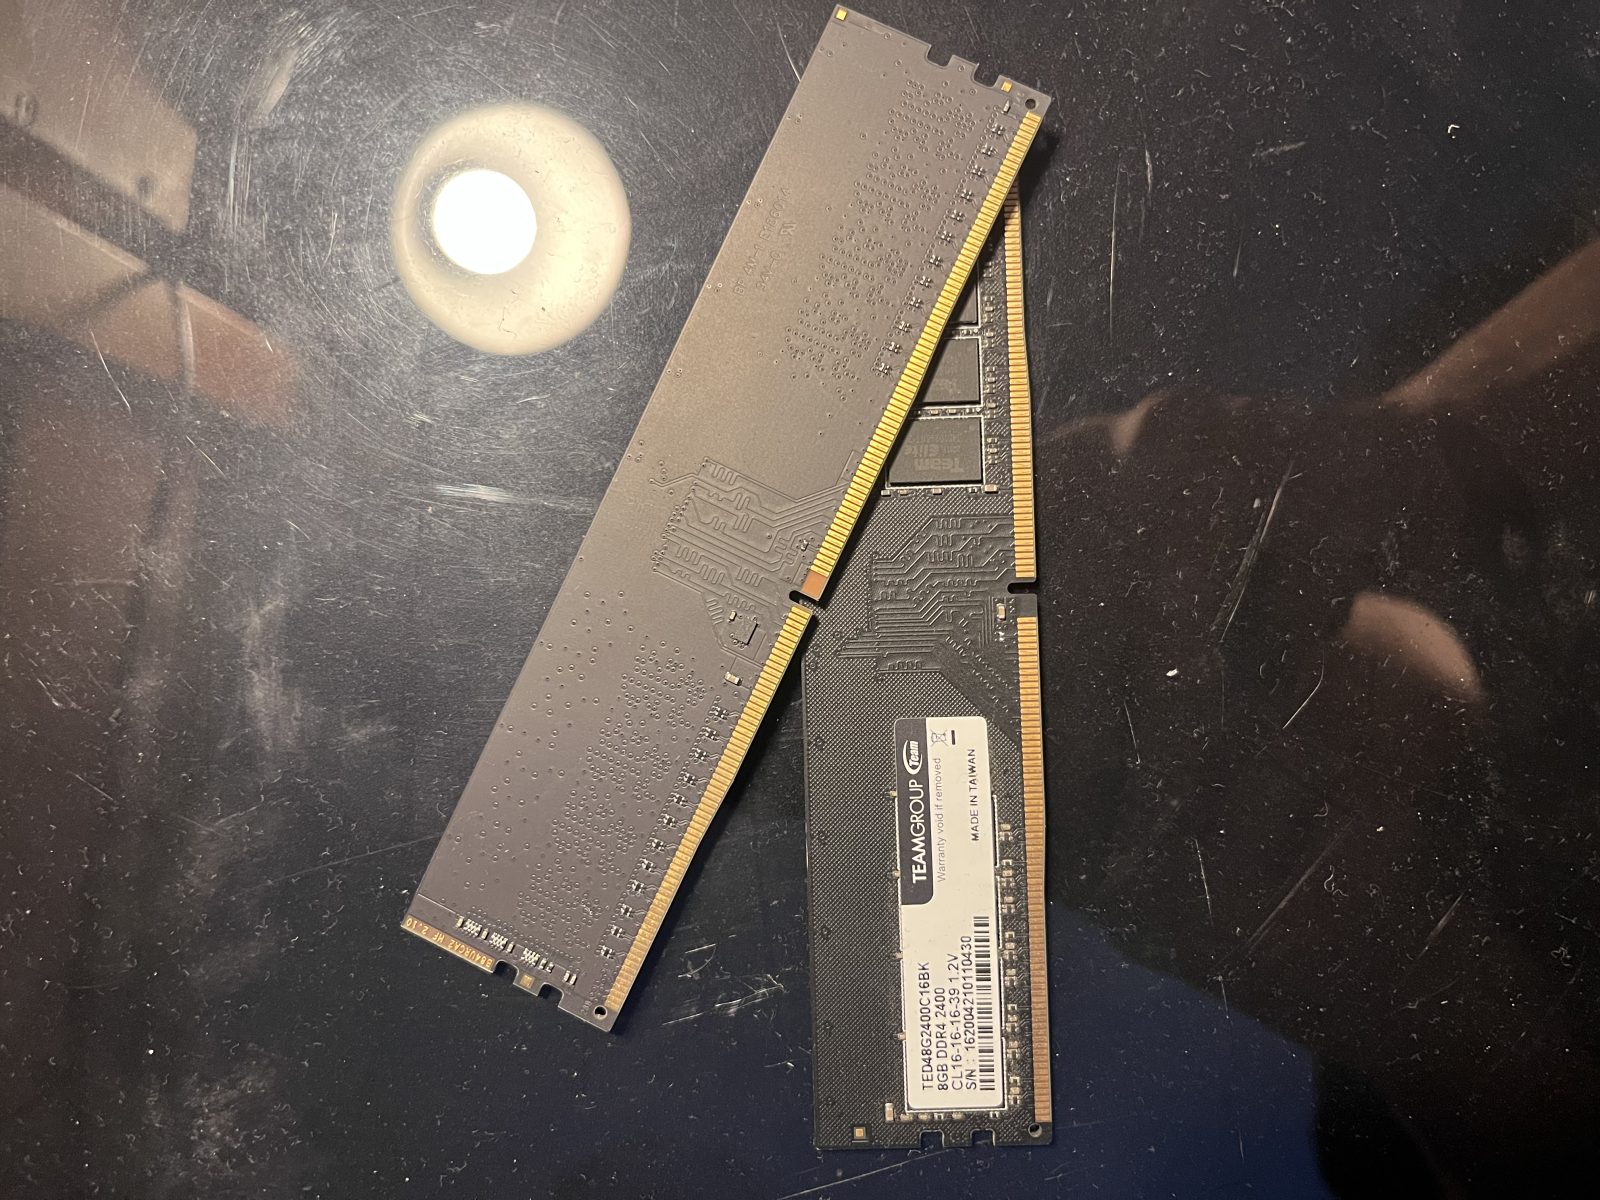
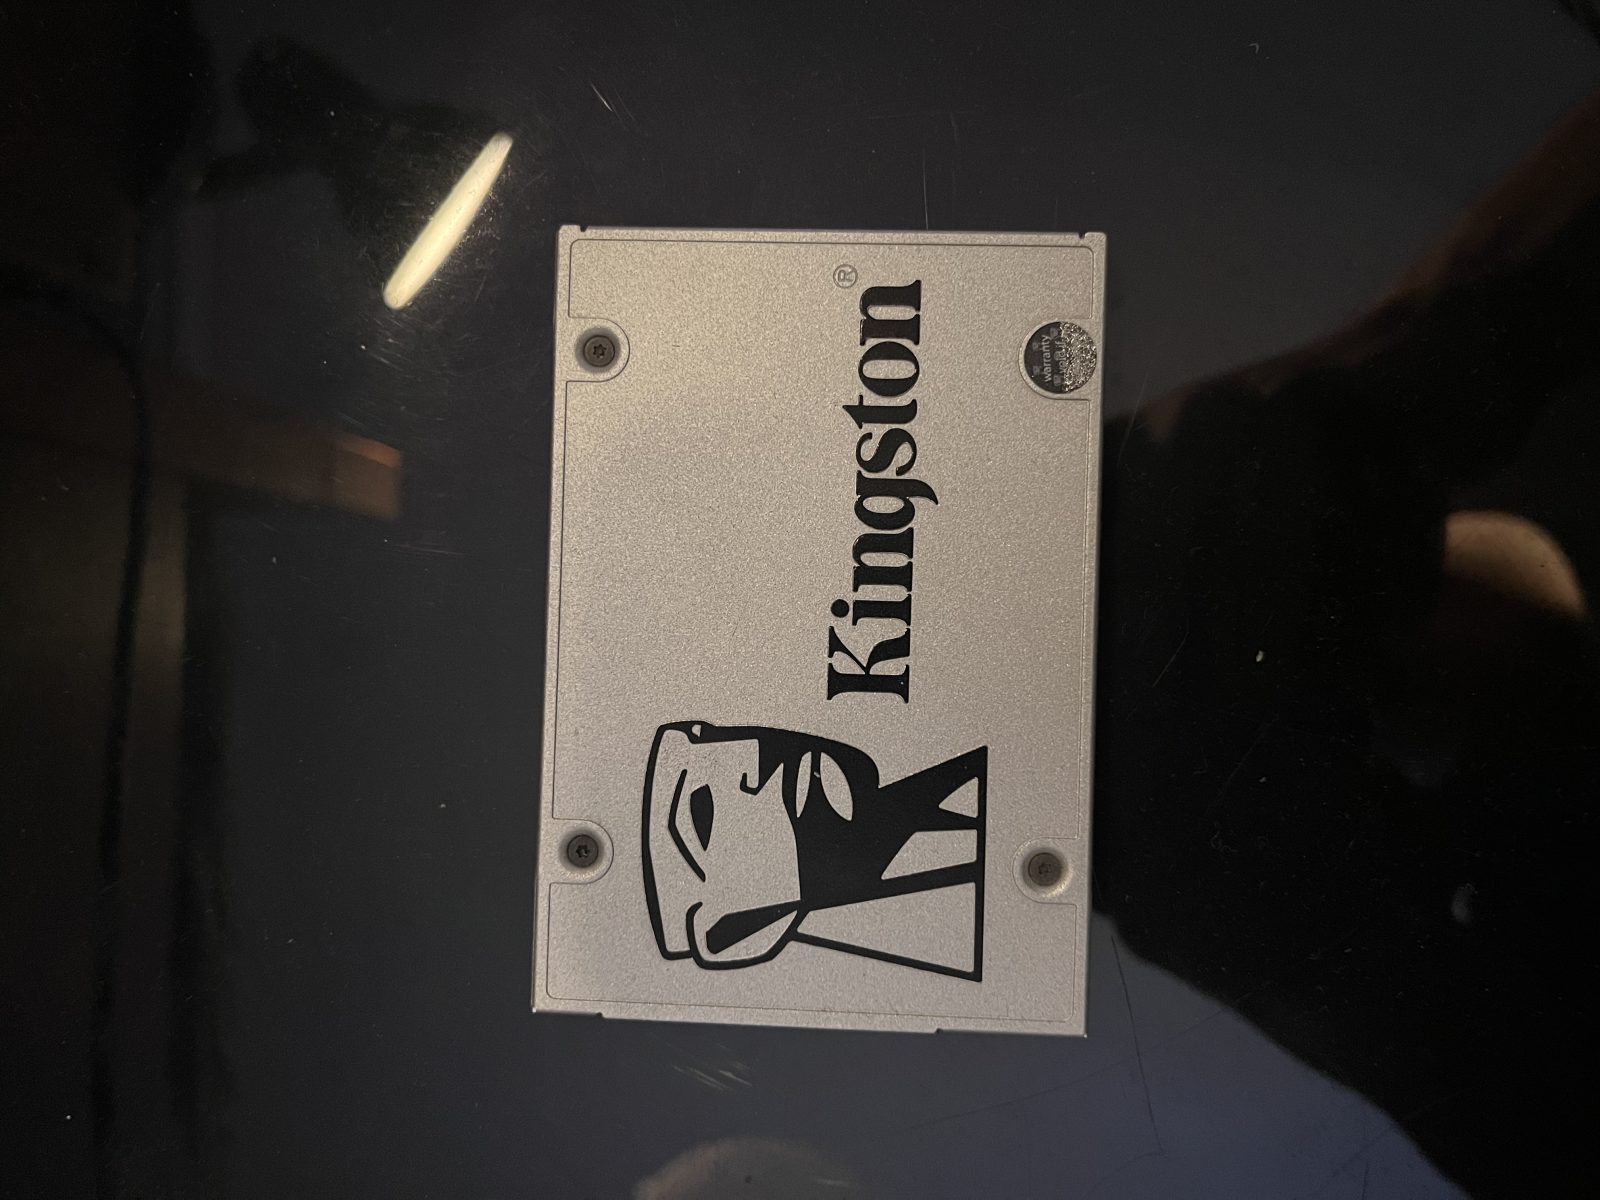
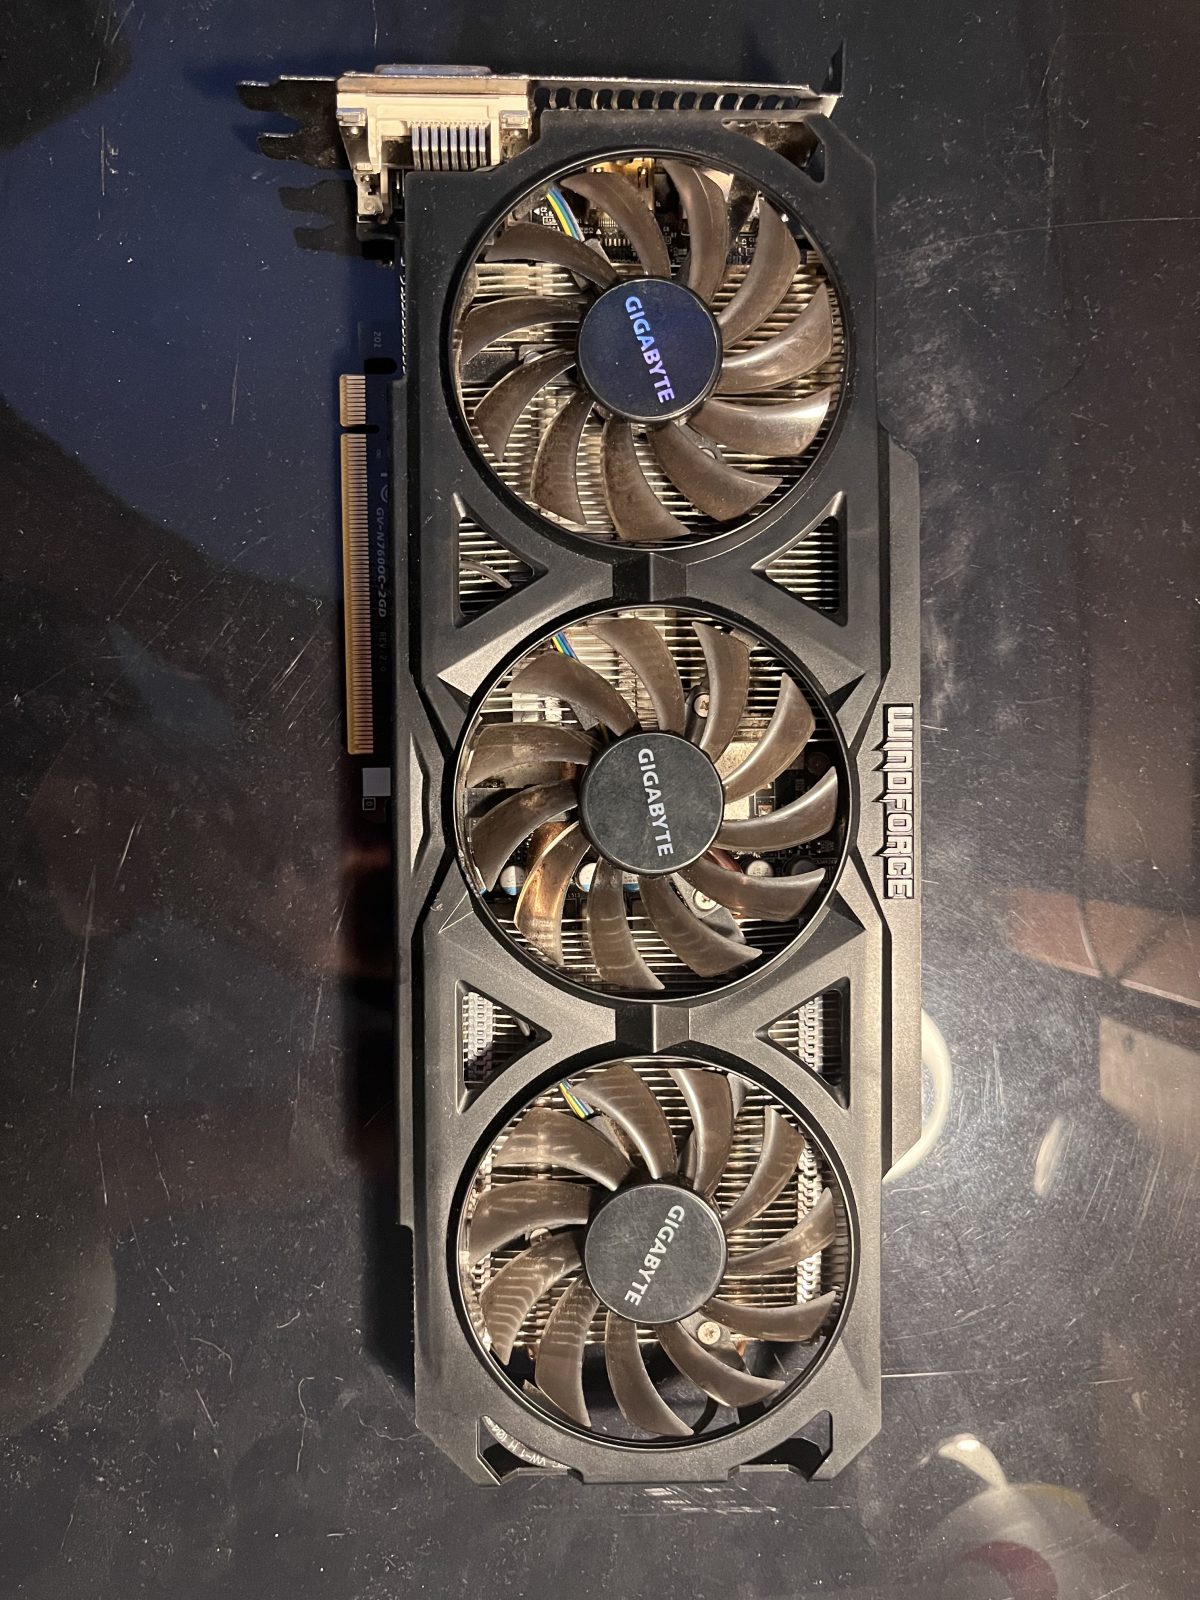
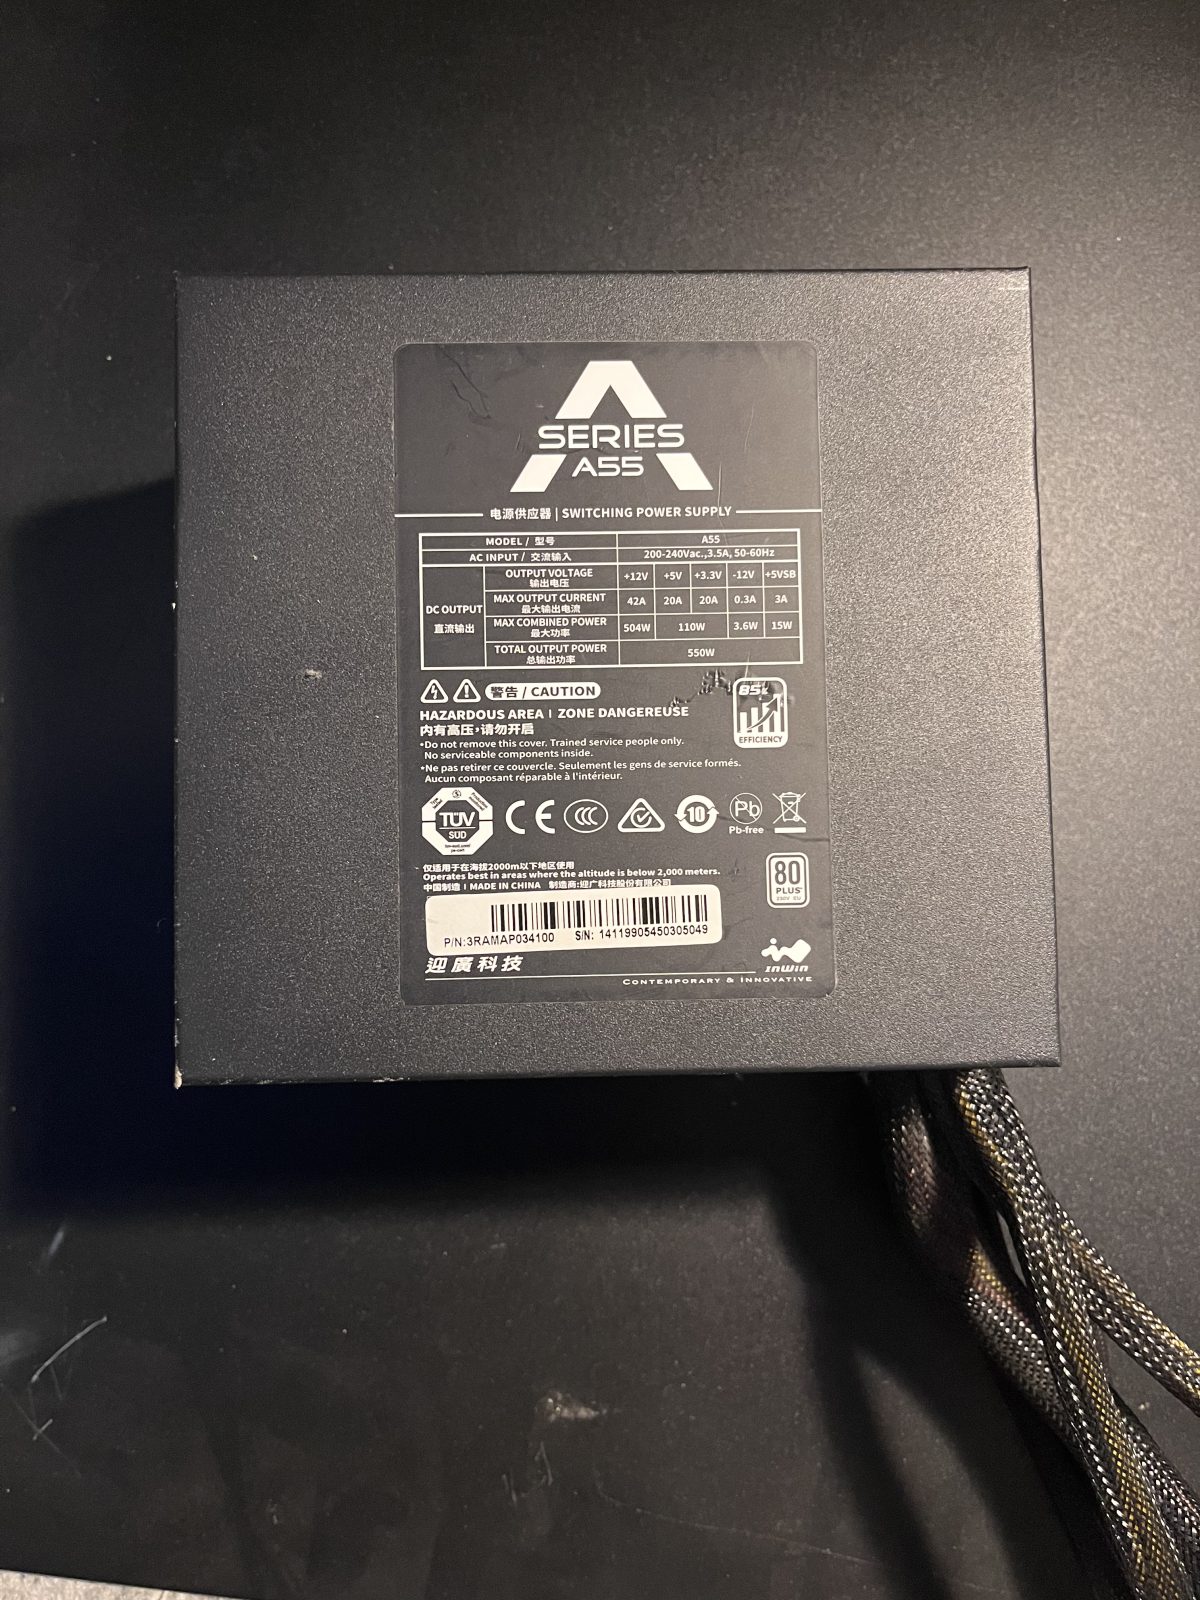
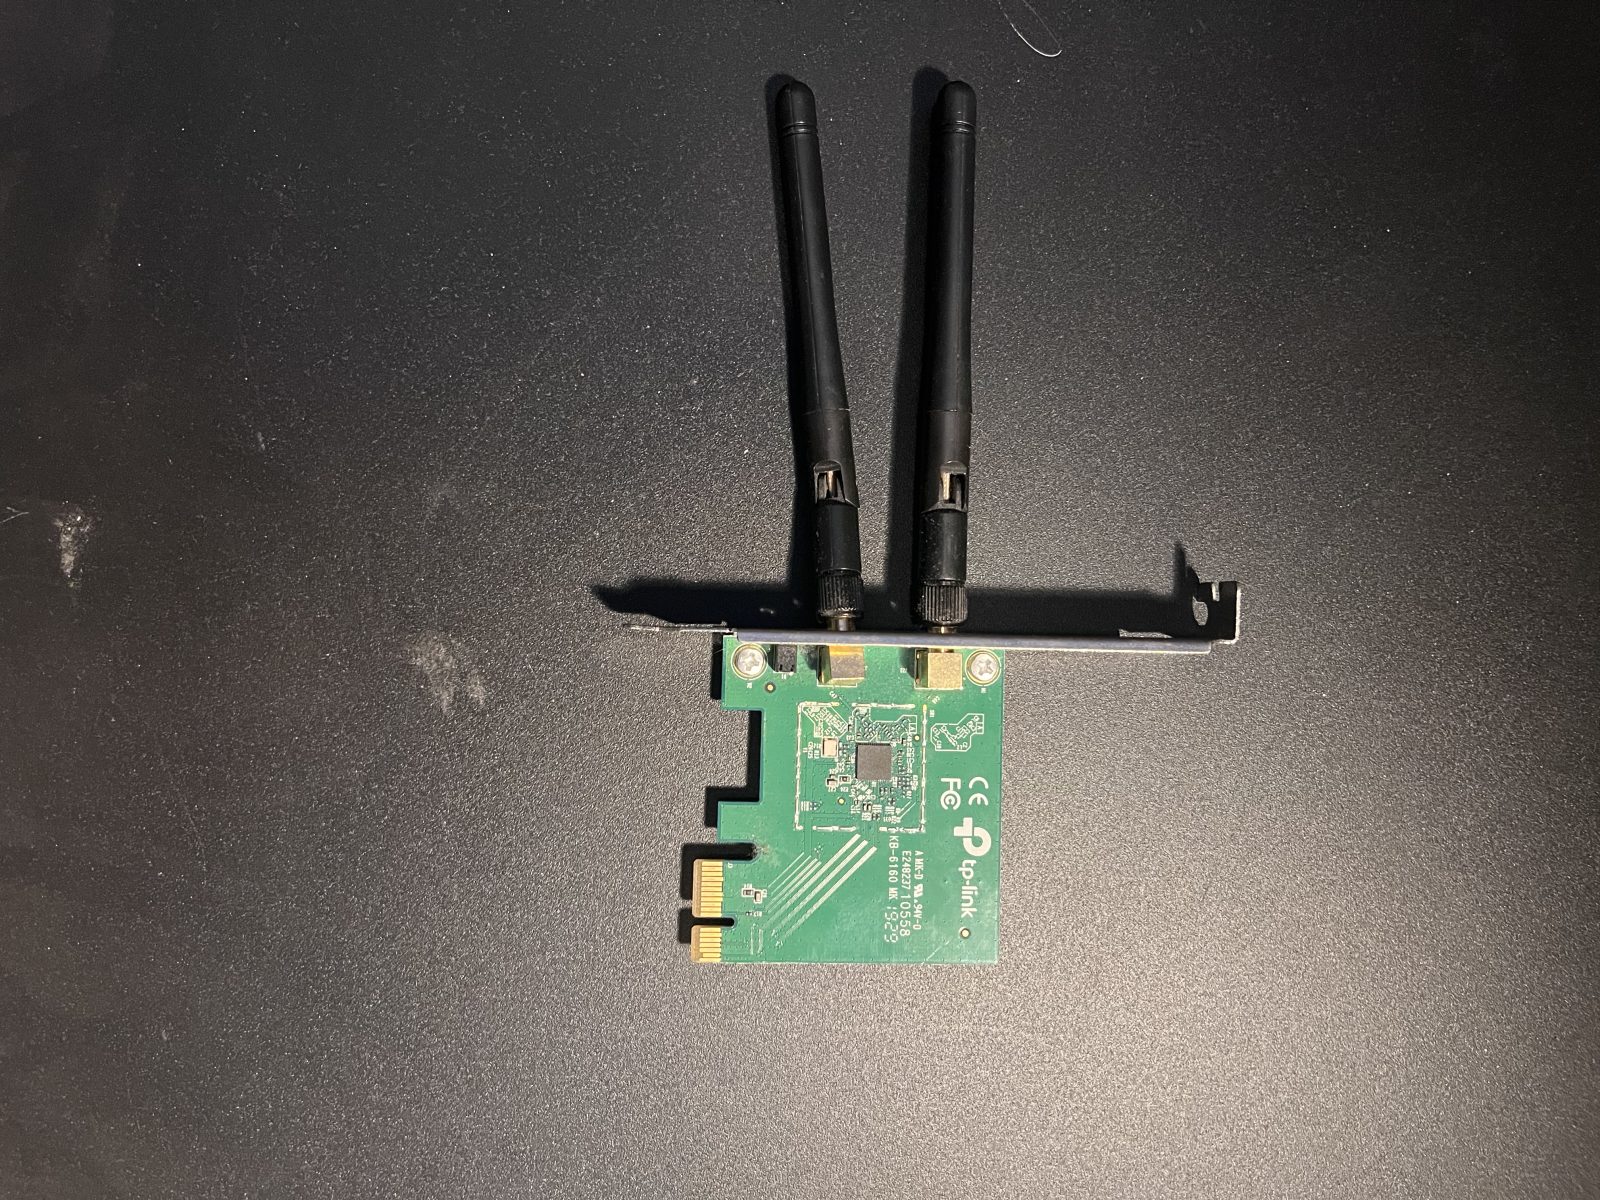
Three choices worth explaining. The GTX 760 is there only because the i5-9400F has no integrated graphics, so without a card there's no display to install Proxmox from. The 120GB SSD holds Proxmox and the VM disks; it's small, and the first upgrade will be a second drive for VM storage. The Wi-Fi card was meant to free the server from a cable, but Proxmox bridges VMs onto the LAN through a wired NIC, so the box ended up on the switch anyway.
Preparing the motherboard
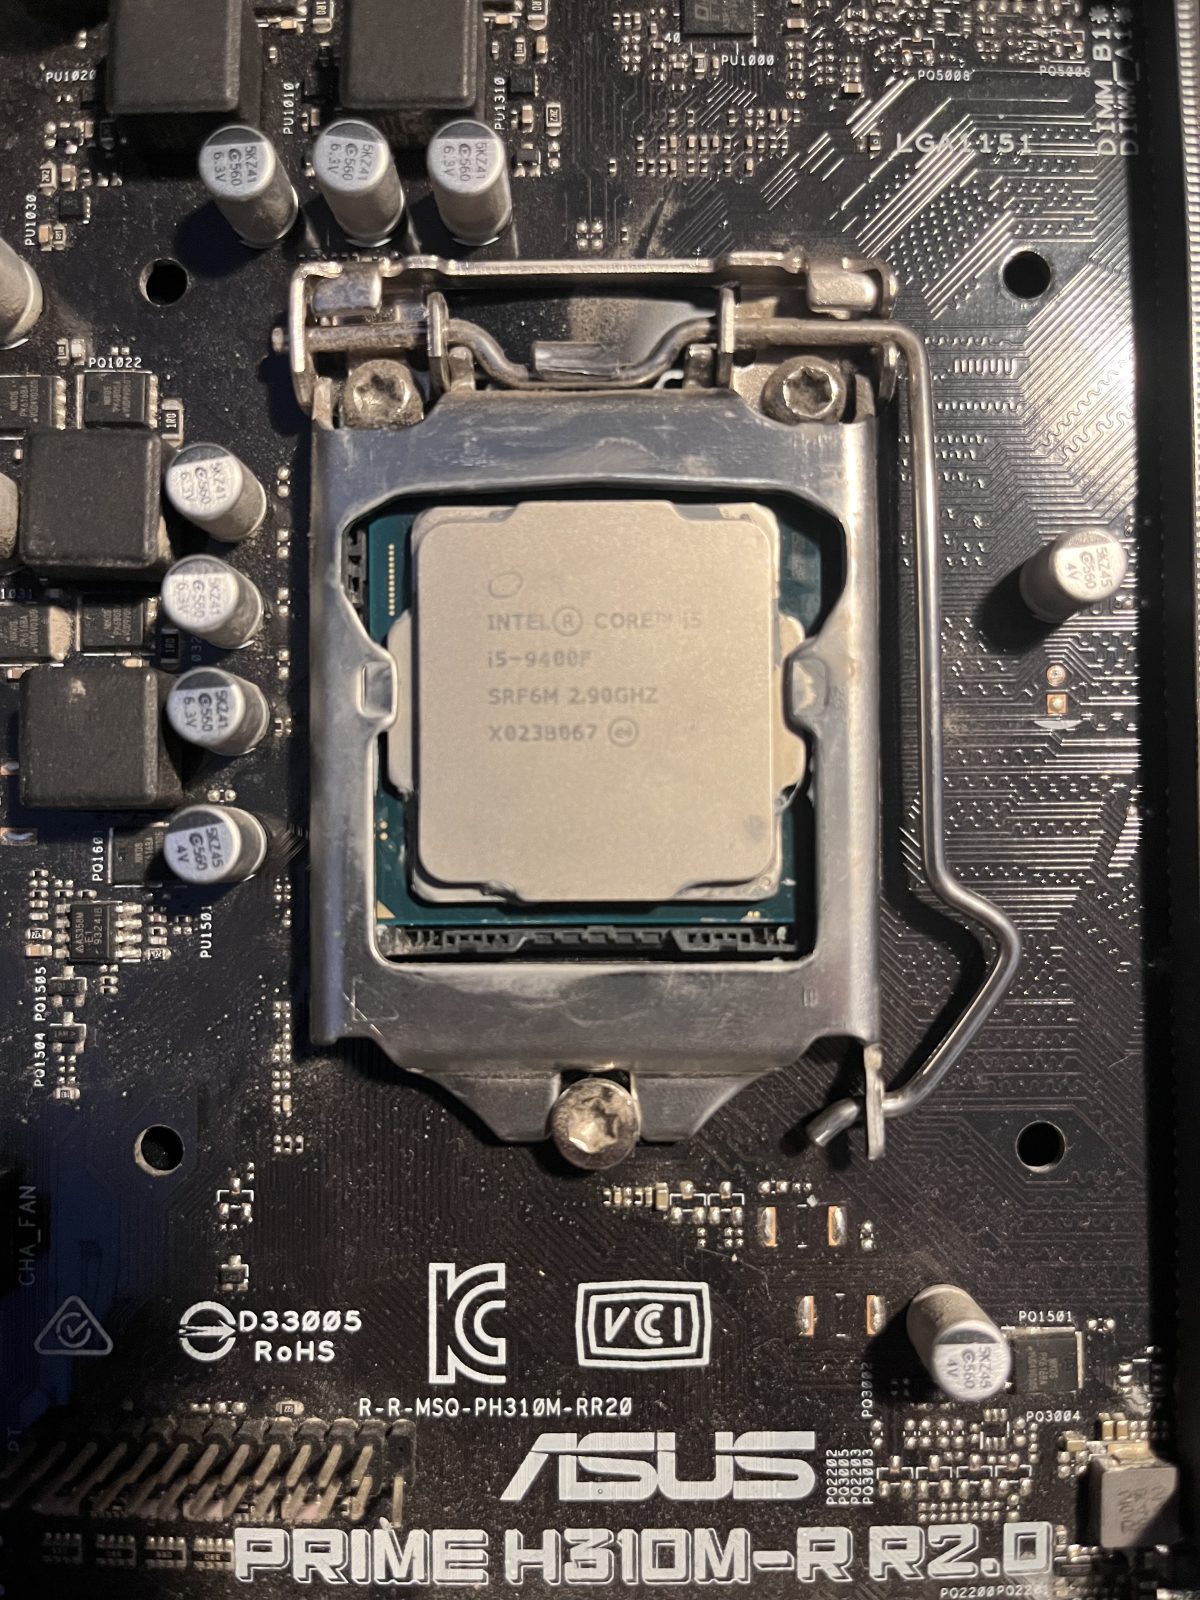
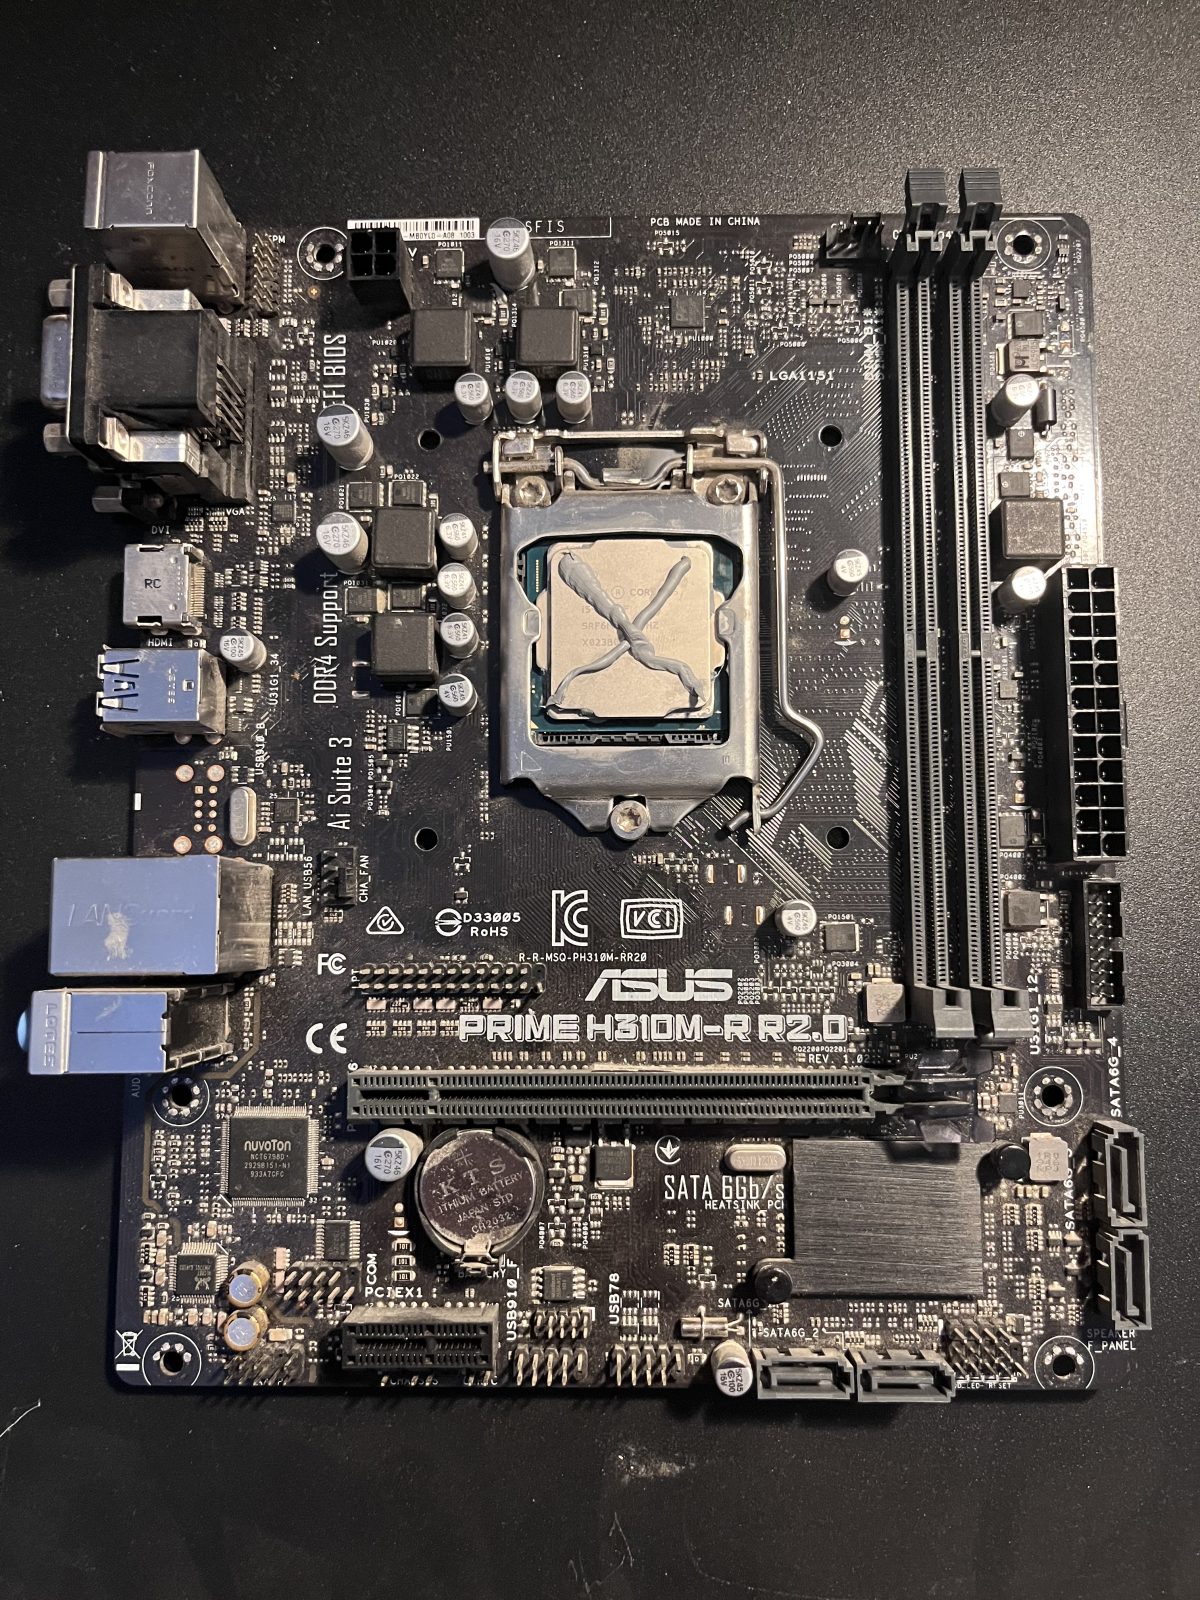
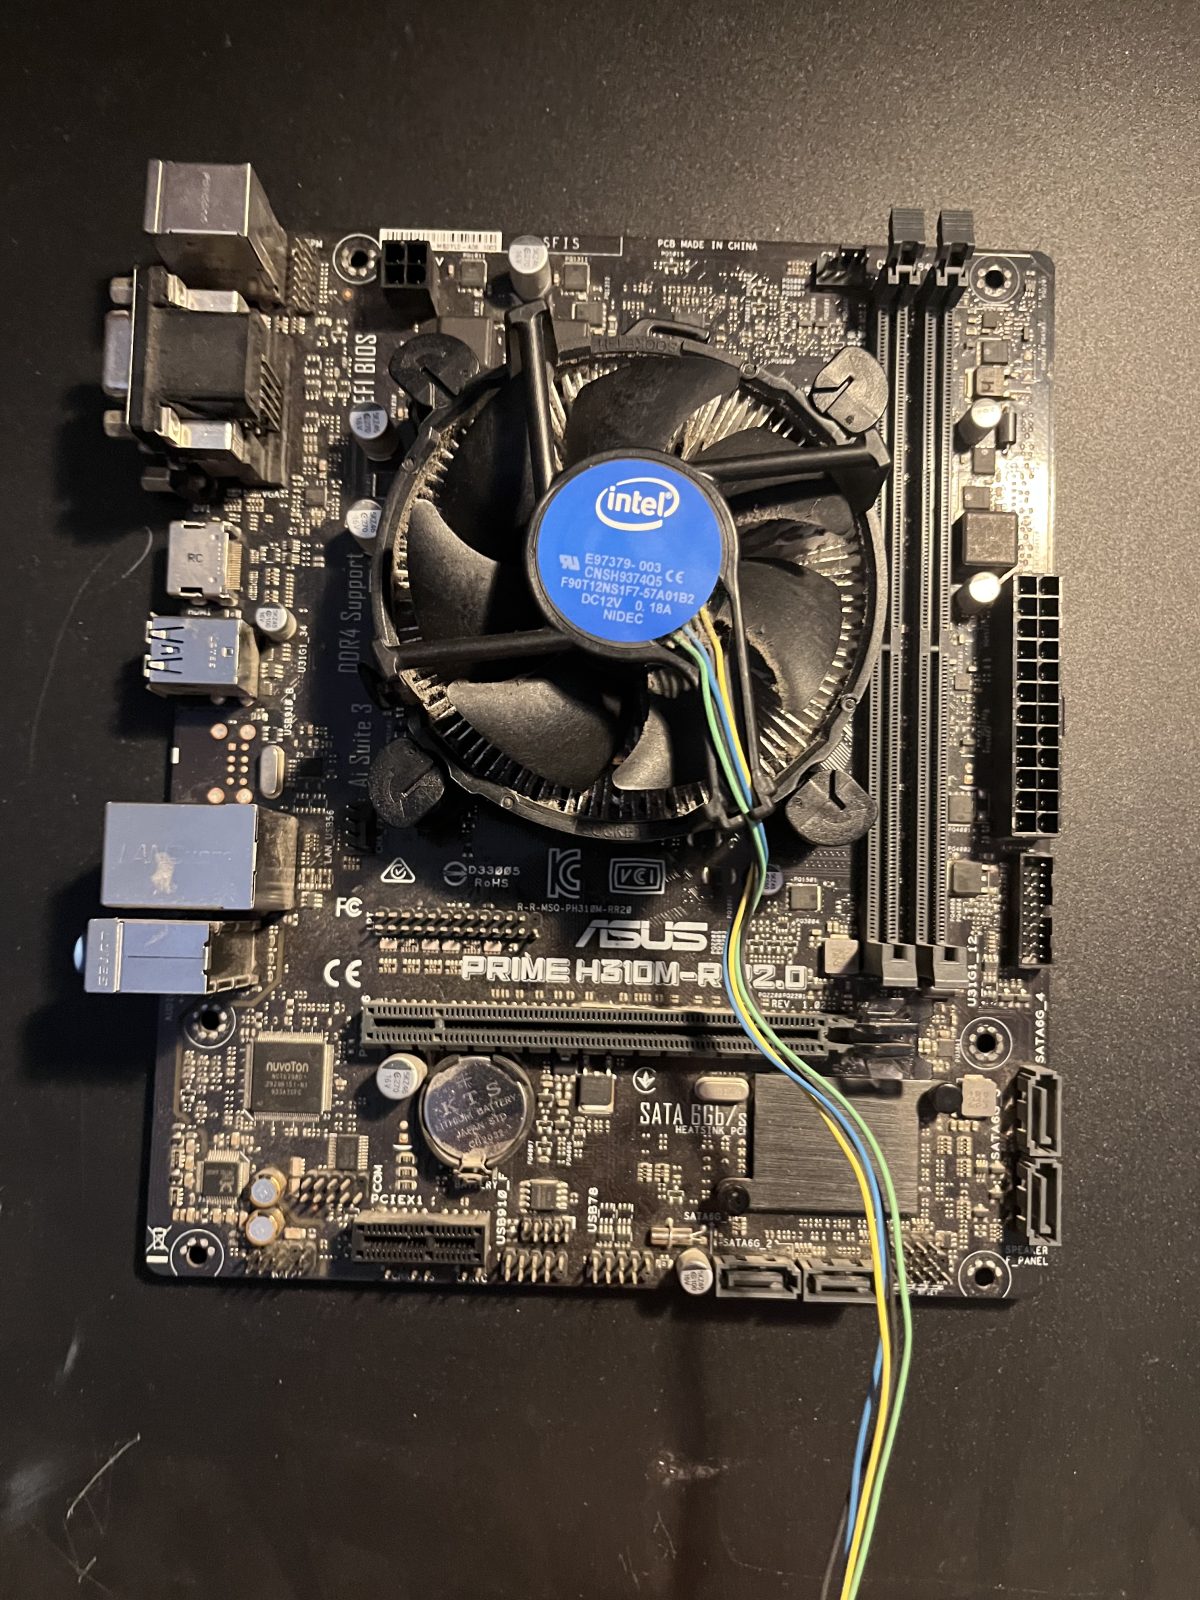
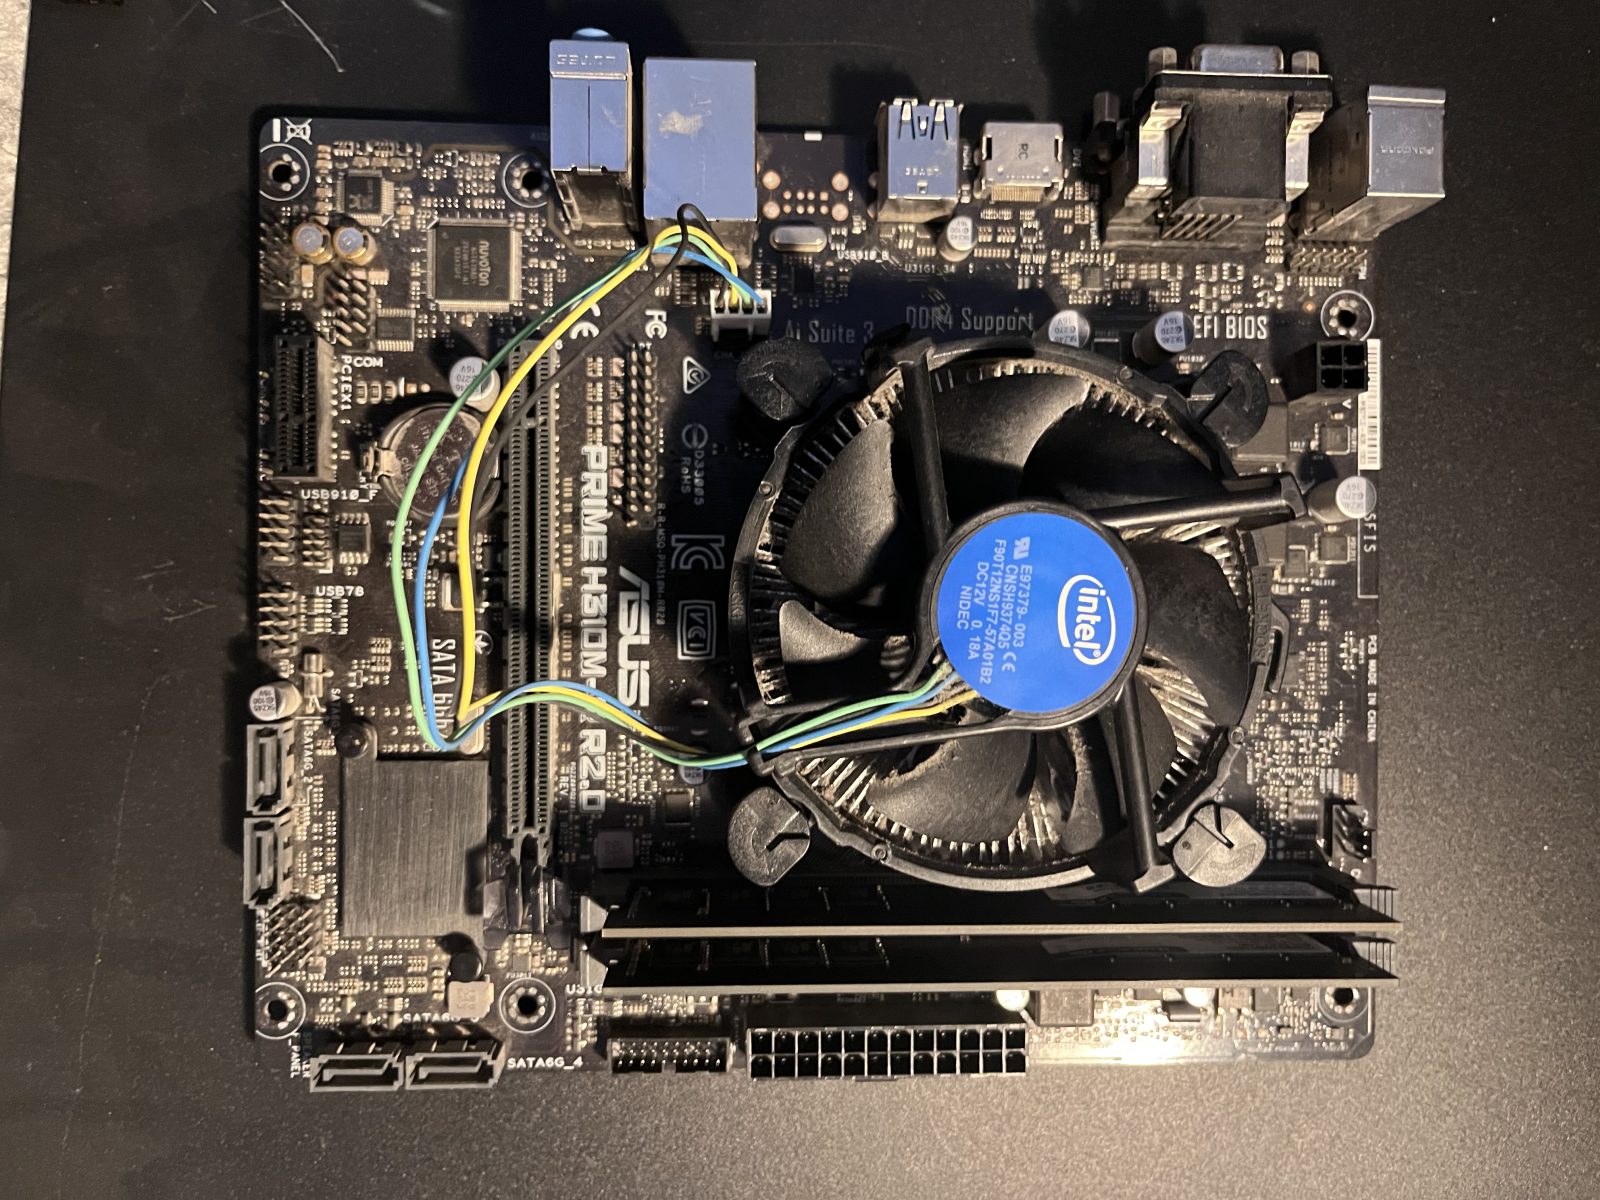
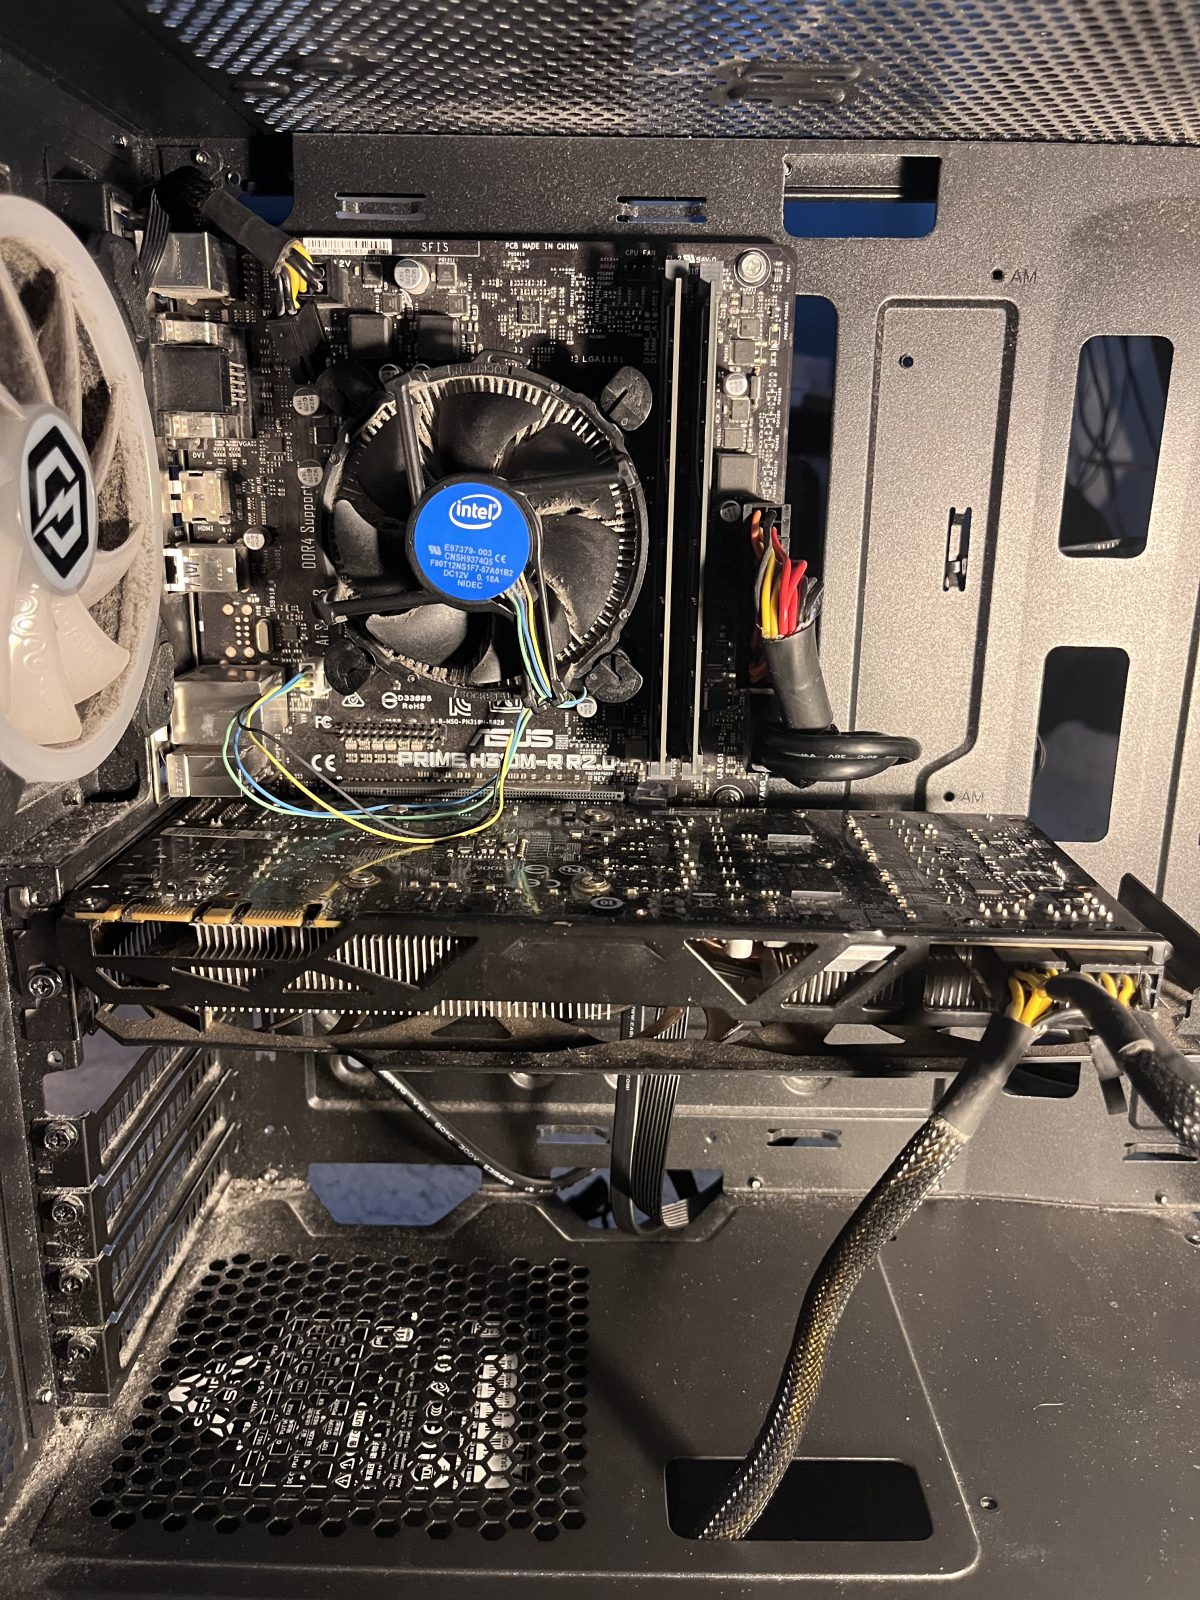
It's easier to fit the CPU, cooler and memory with the board out on the bench than fighting for room inside the case, so I did all of that first. The CPU drops into the LGA1151 socket one way only — line up the notches, lower it in and close the retention arm.
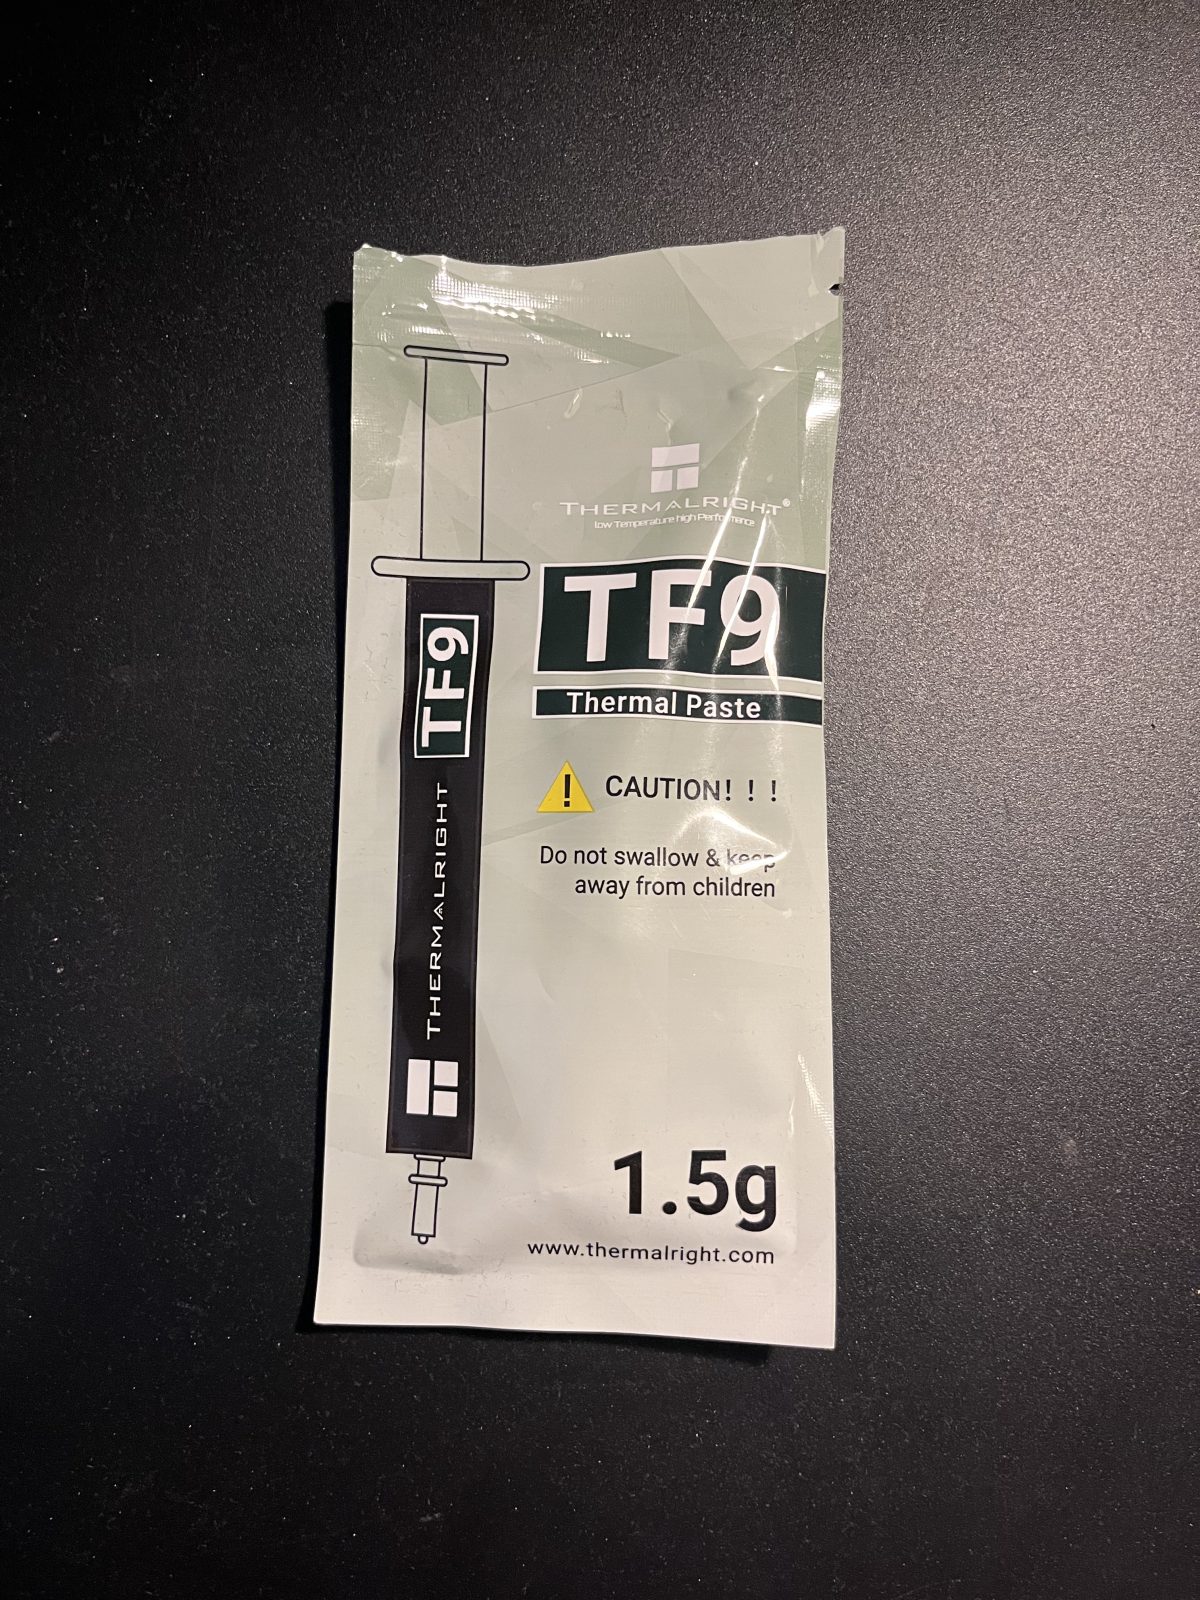
Then a small amount of thermal paste in the middle of the CPU, the stock cooler pushed down onto its four pins until each clicks, and the cooler's fan header plugged into CPU_FAN. Last on the bench were the two DDR4 sticks, pressed into their slots until the clips snapped up.
Installing the motherboard into the case
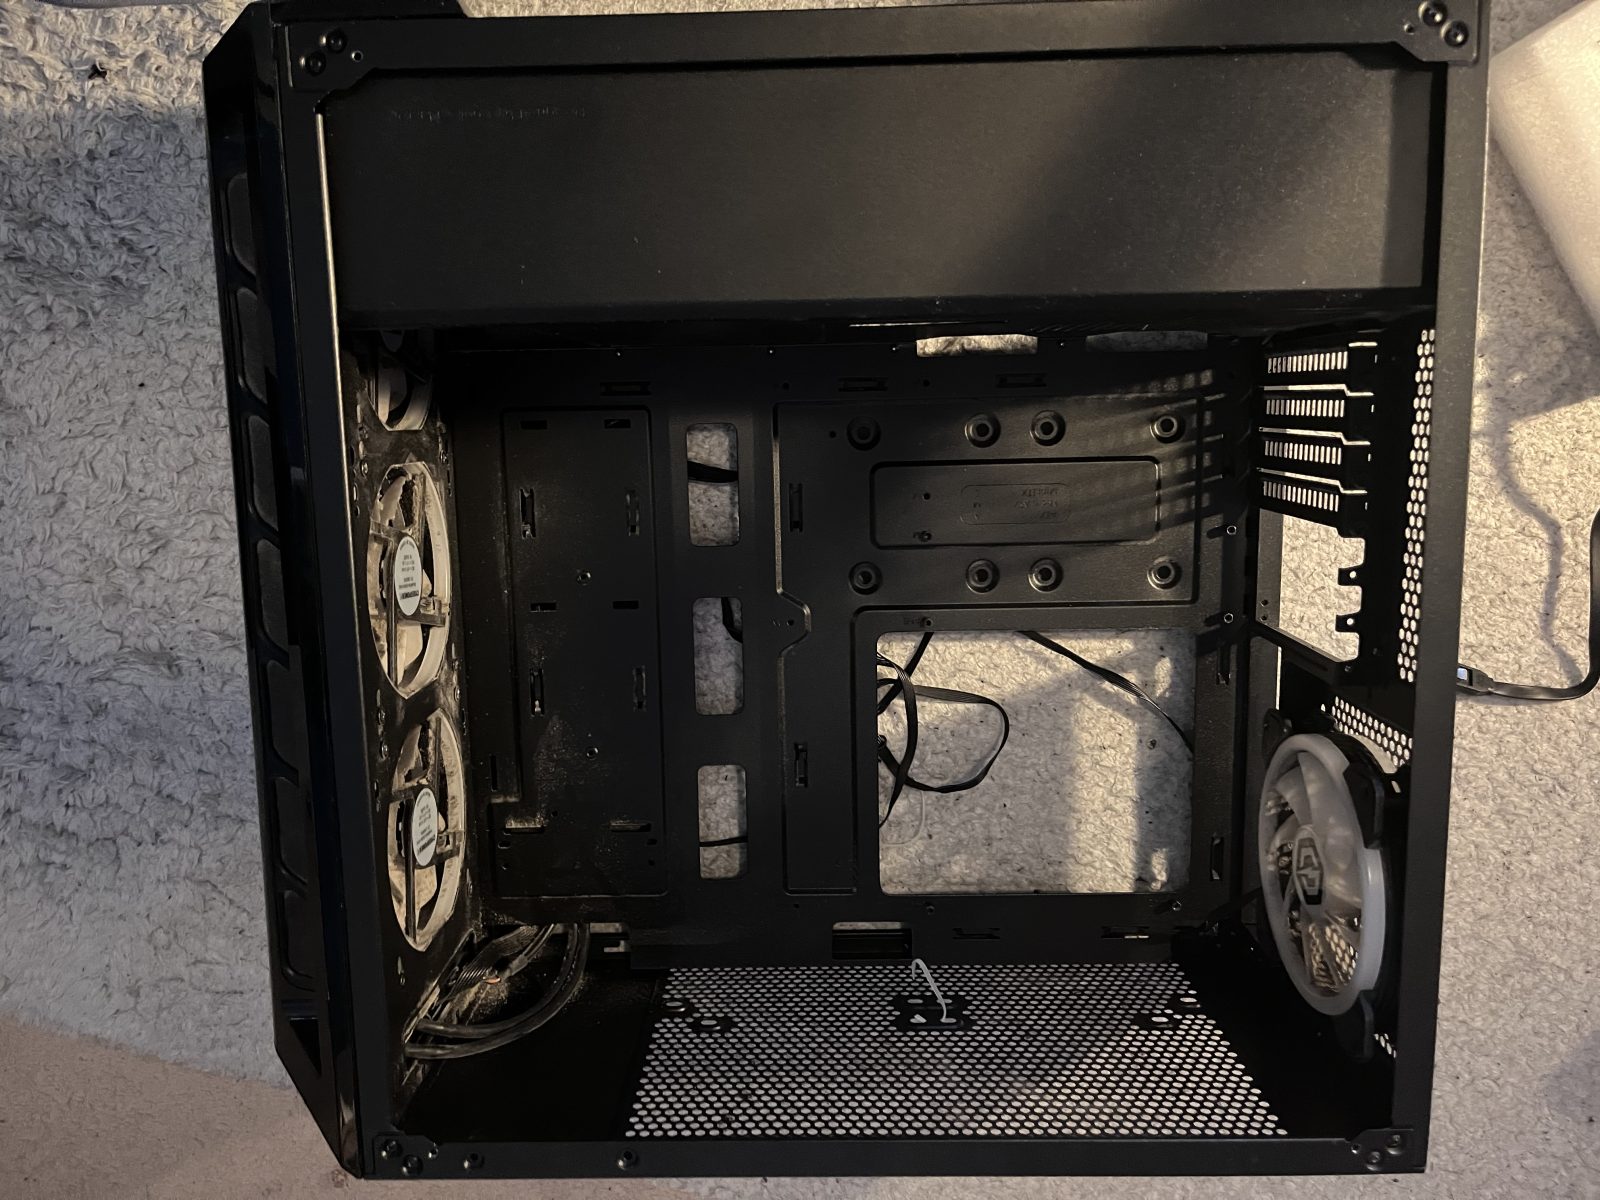
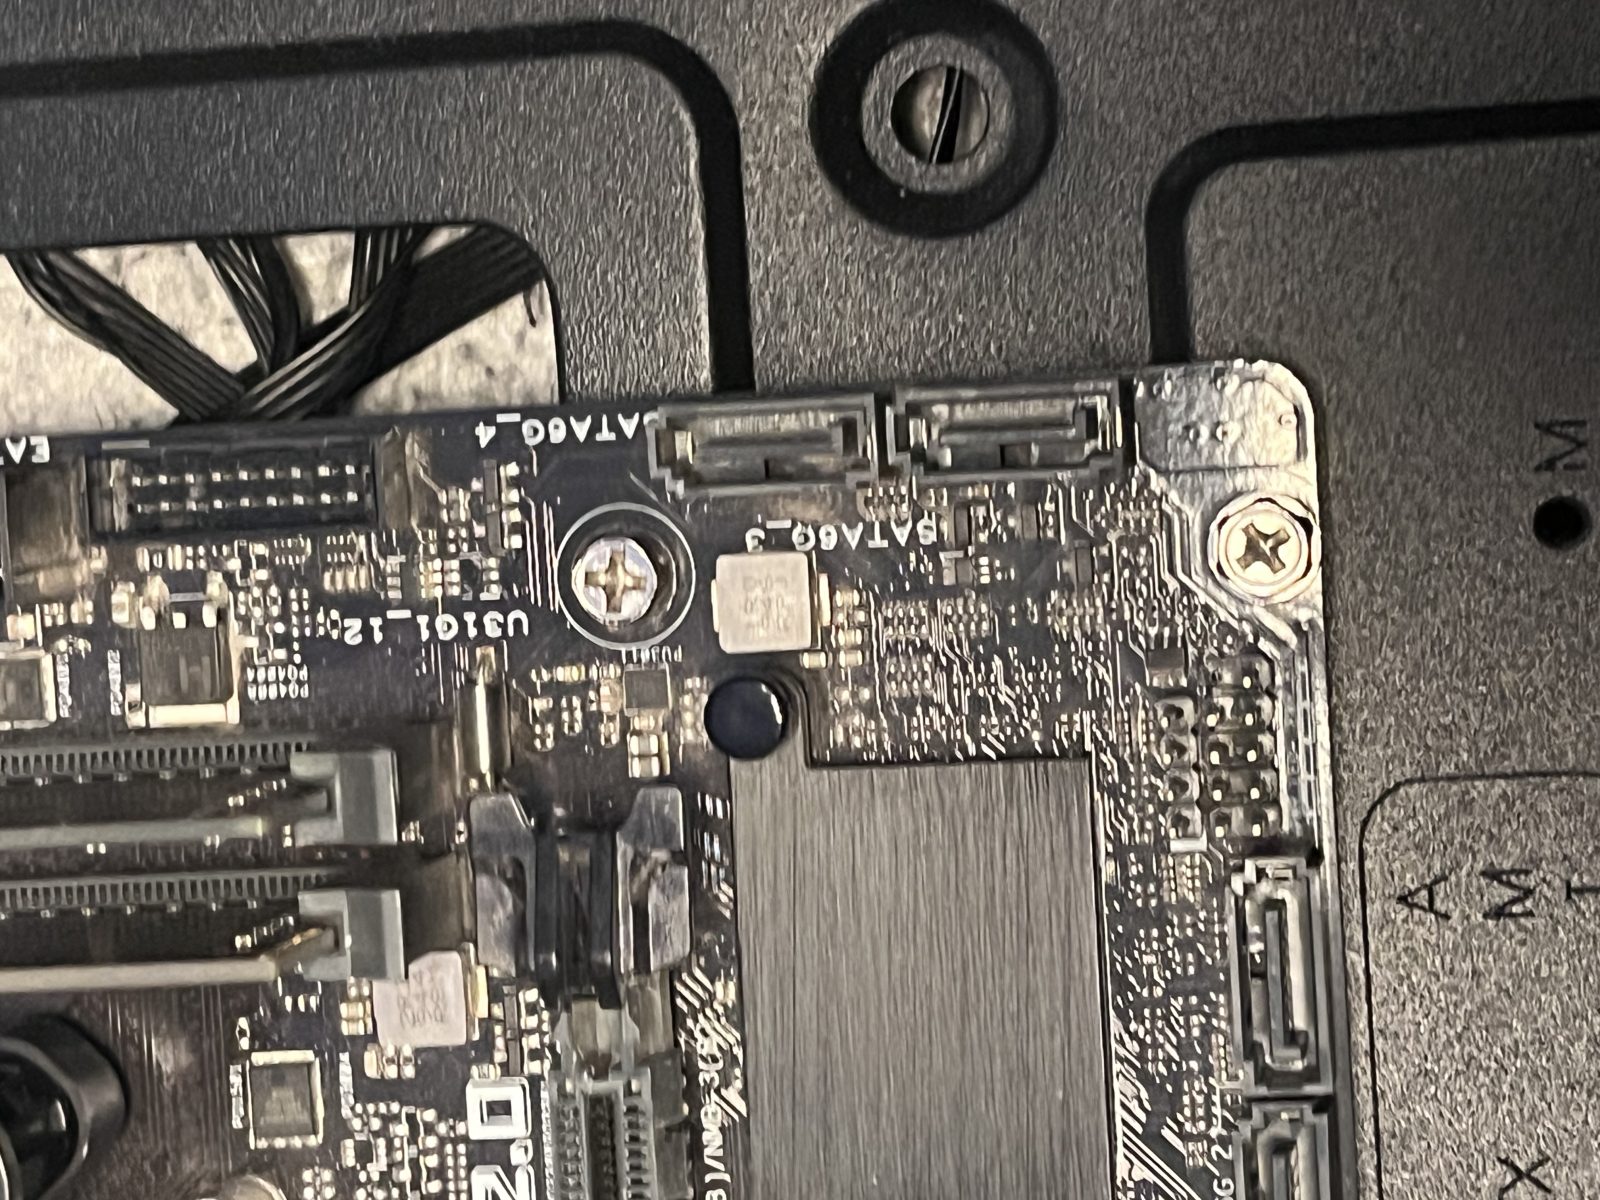
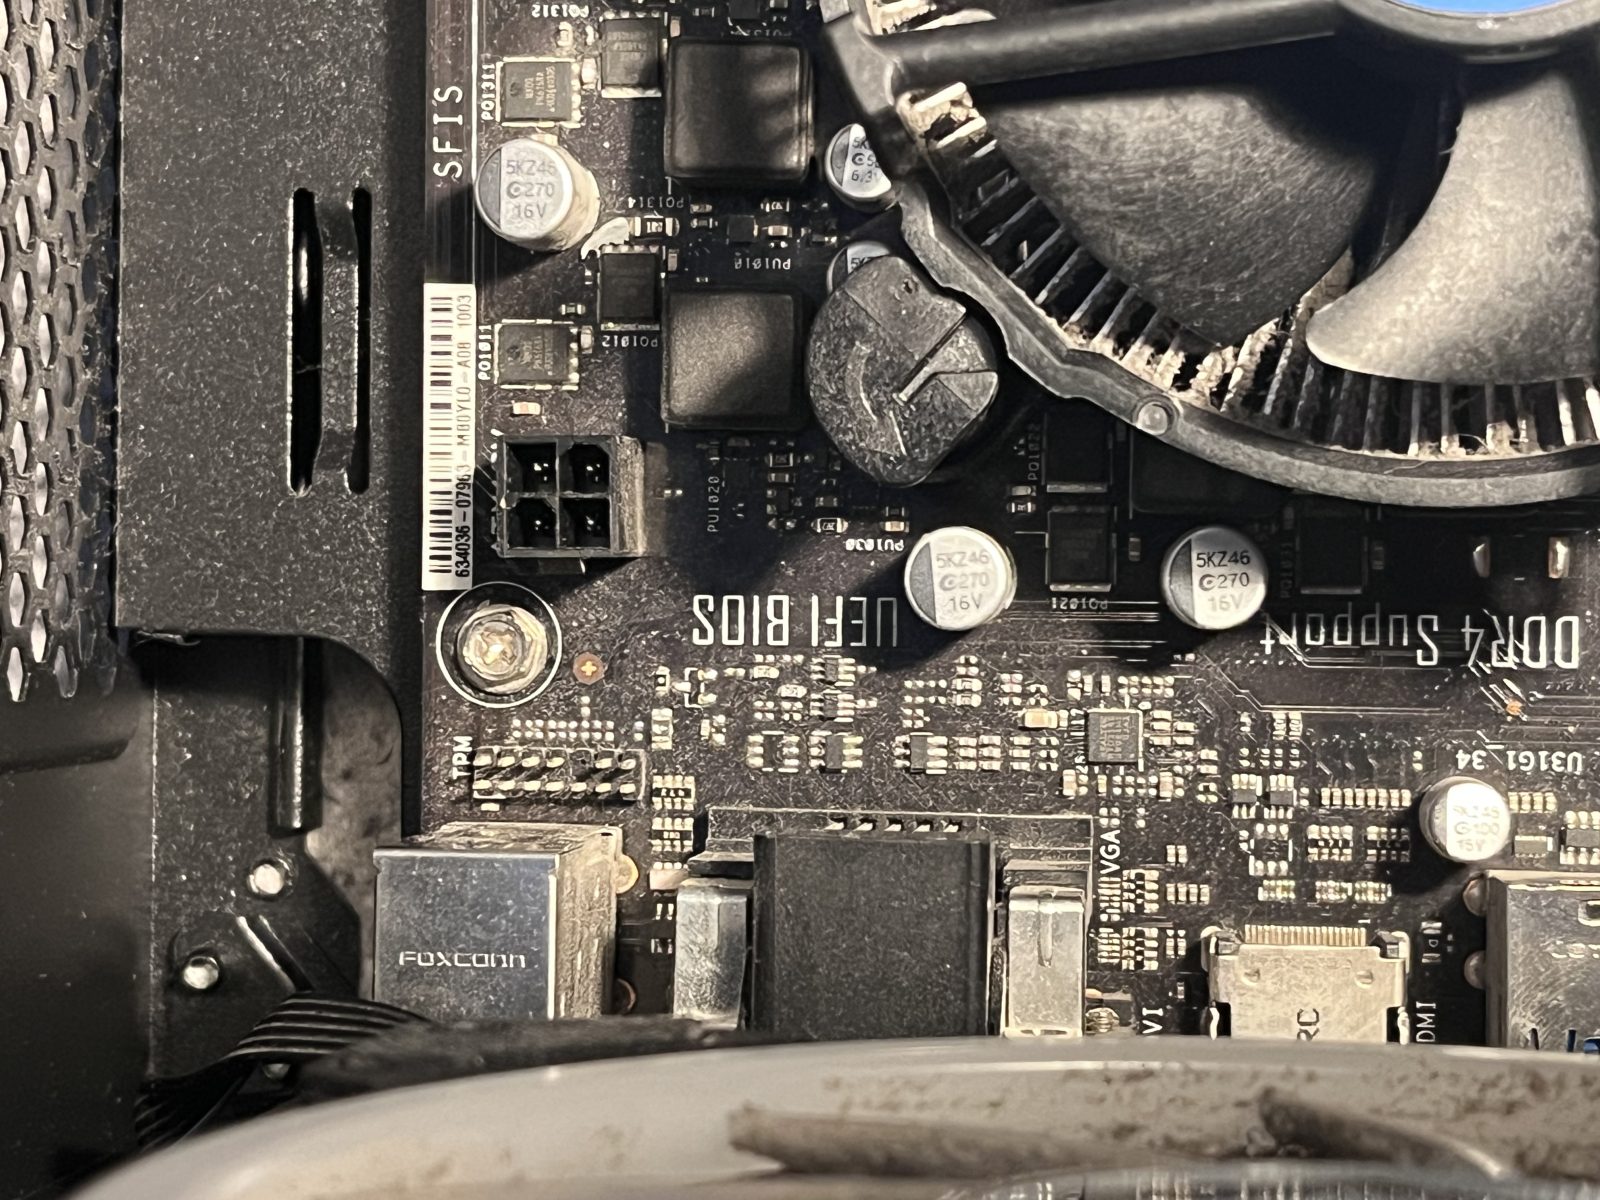
With the board prepped, it went into the case. I clipped the rear I/O shield into place first, then lowered the board onto the standoffs, lined up the ports with the shield and screwed it down. From there it was the front-panel connectors — power switch, LEDs and USB — and the 24-pin and 8-pin power leads from the PSU.
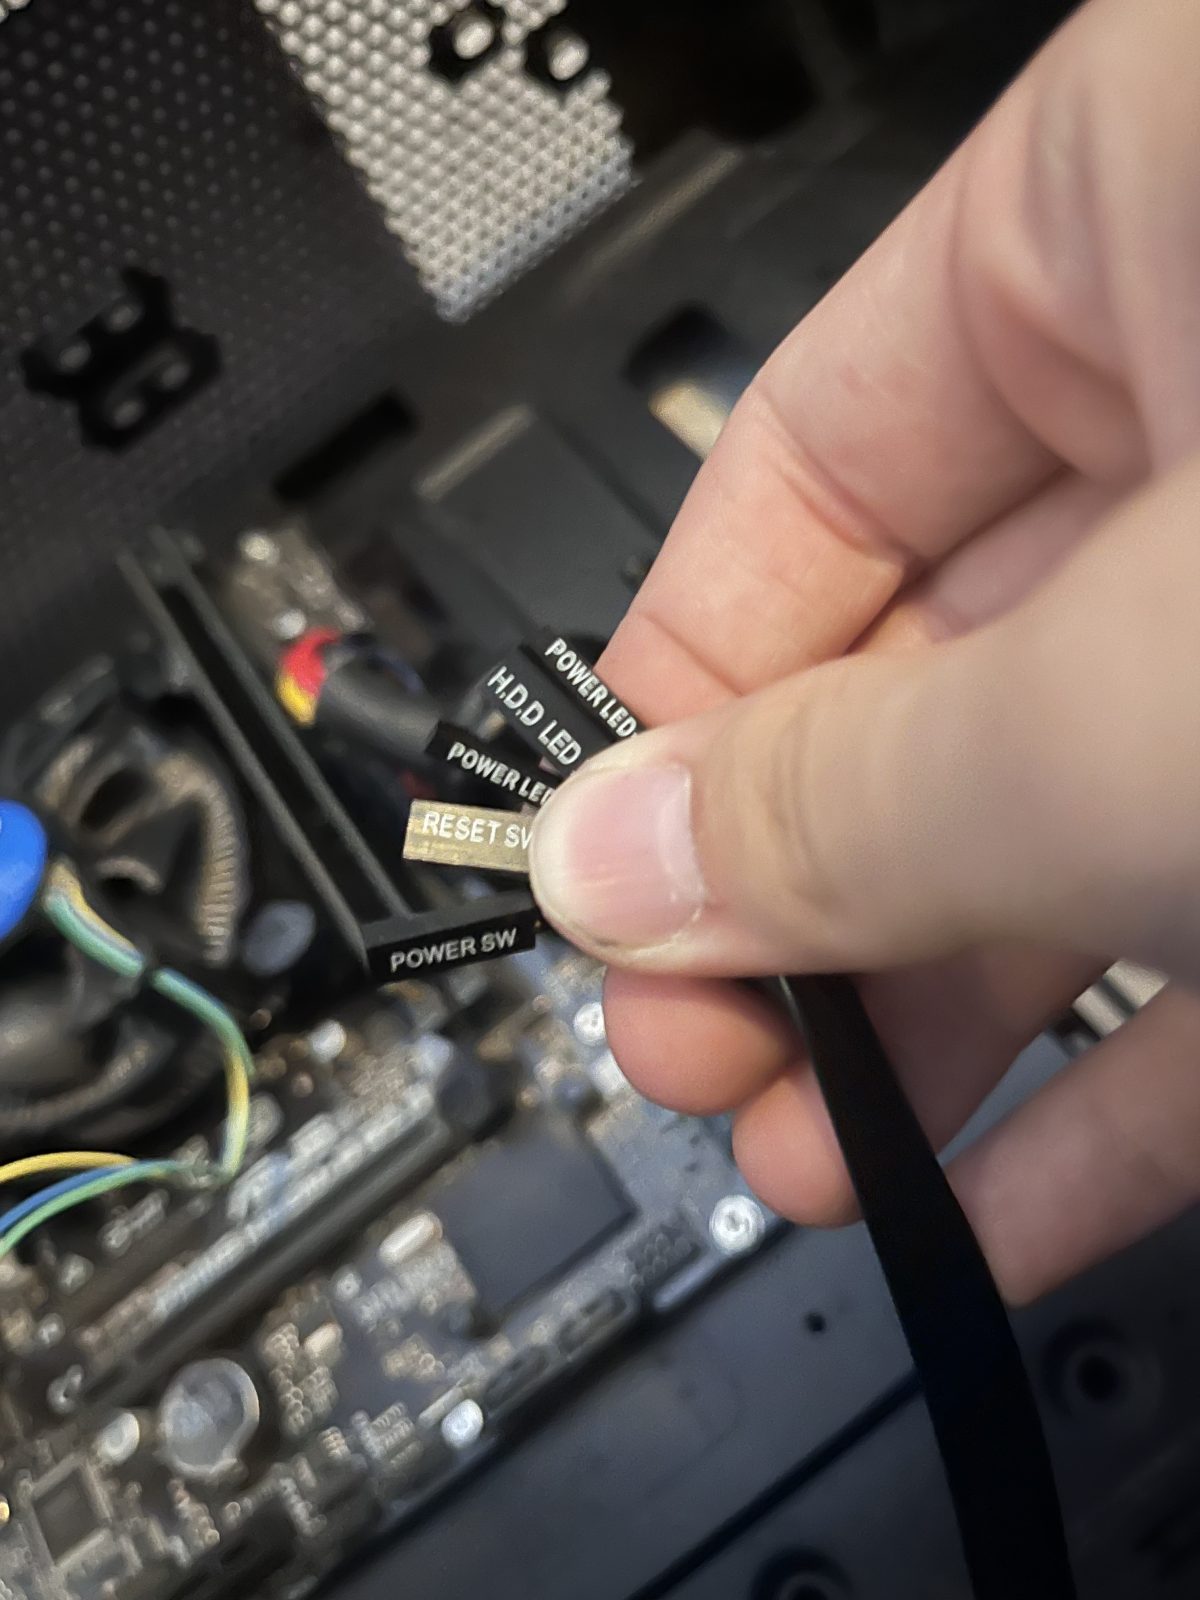
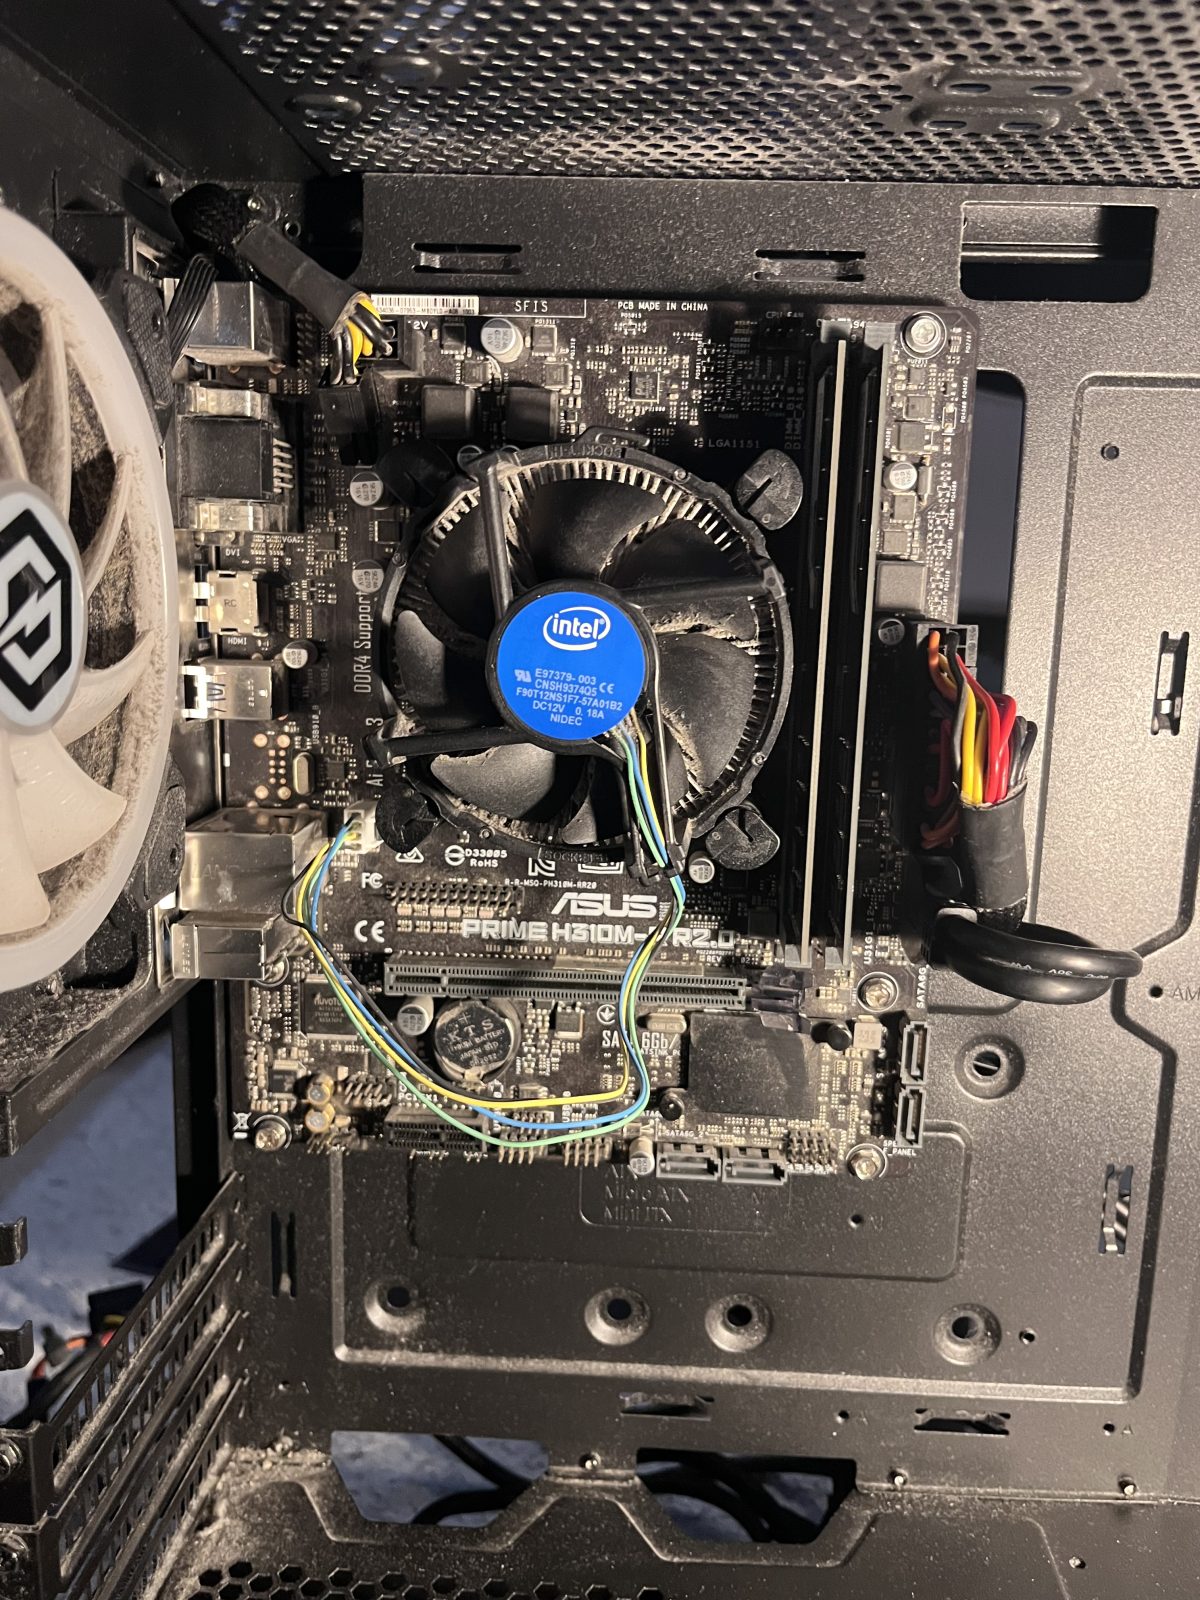
Installing storage and the GPU
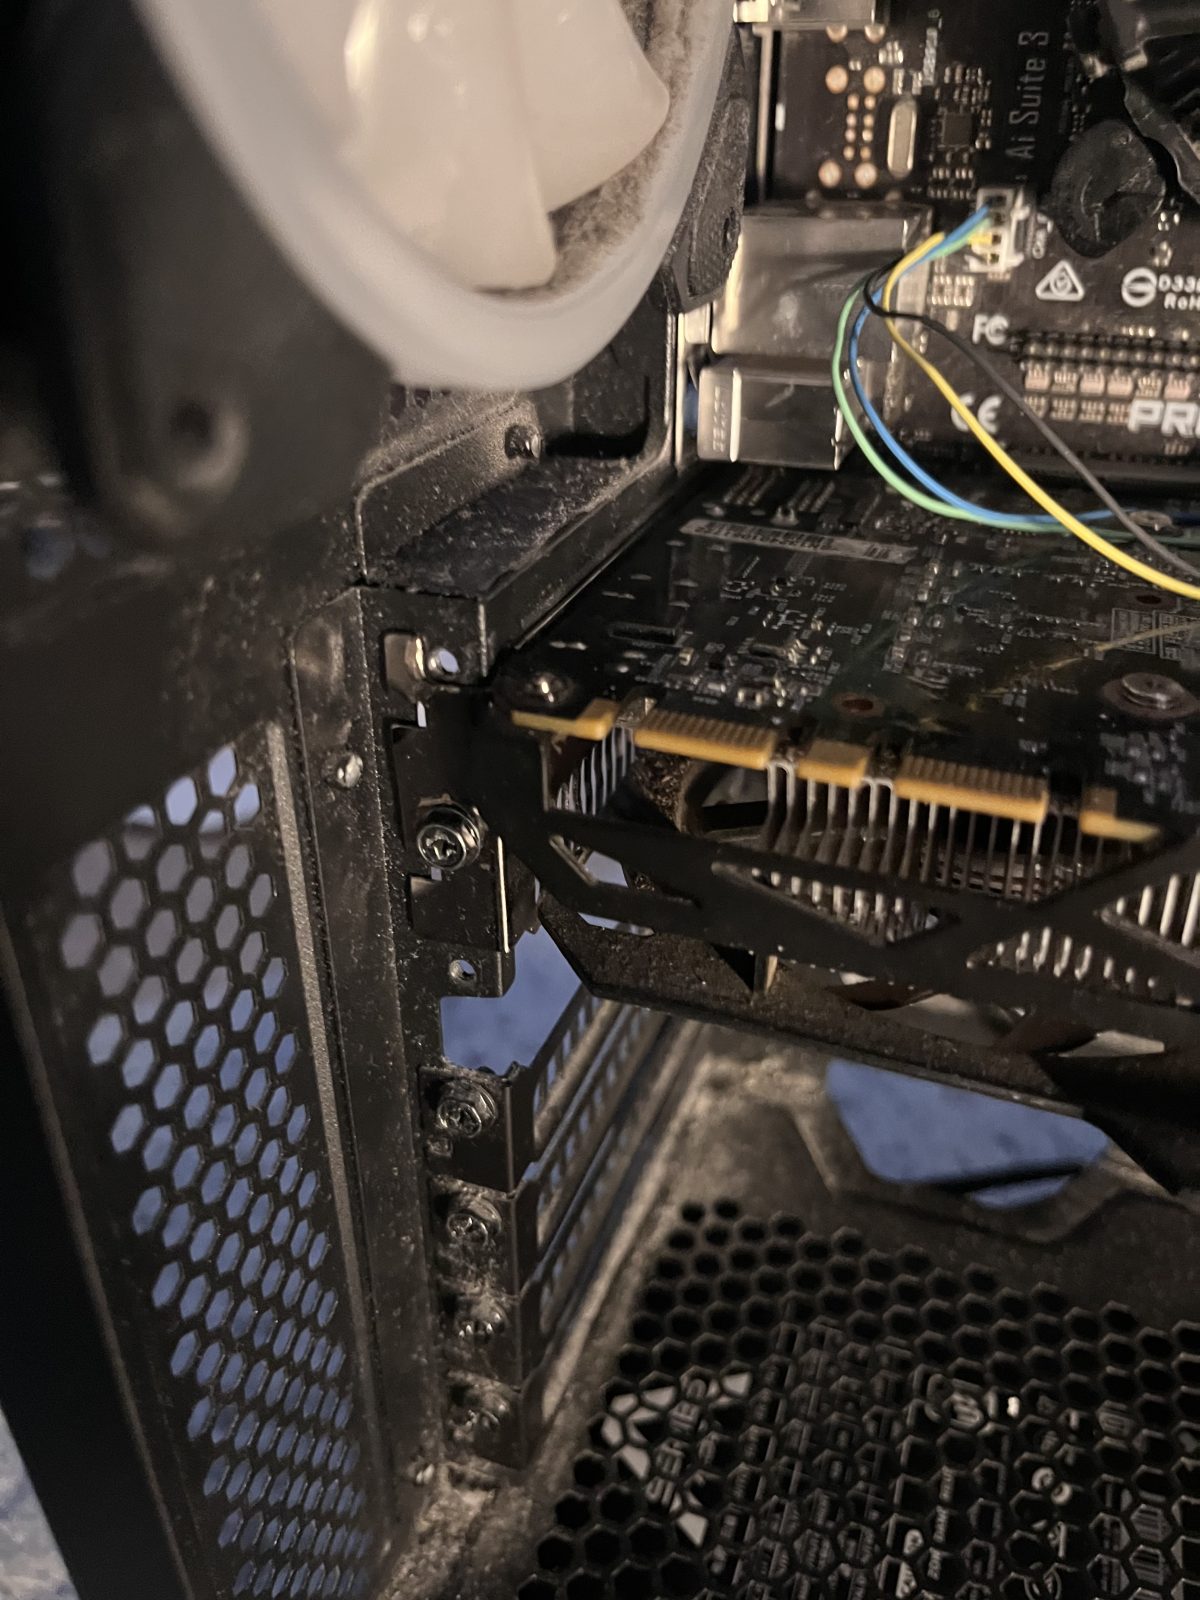
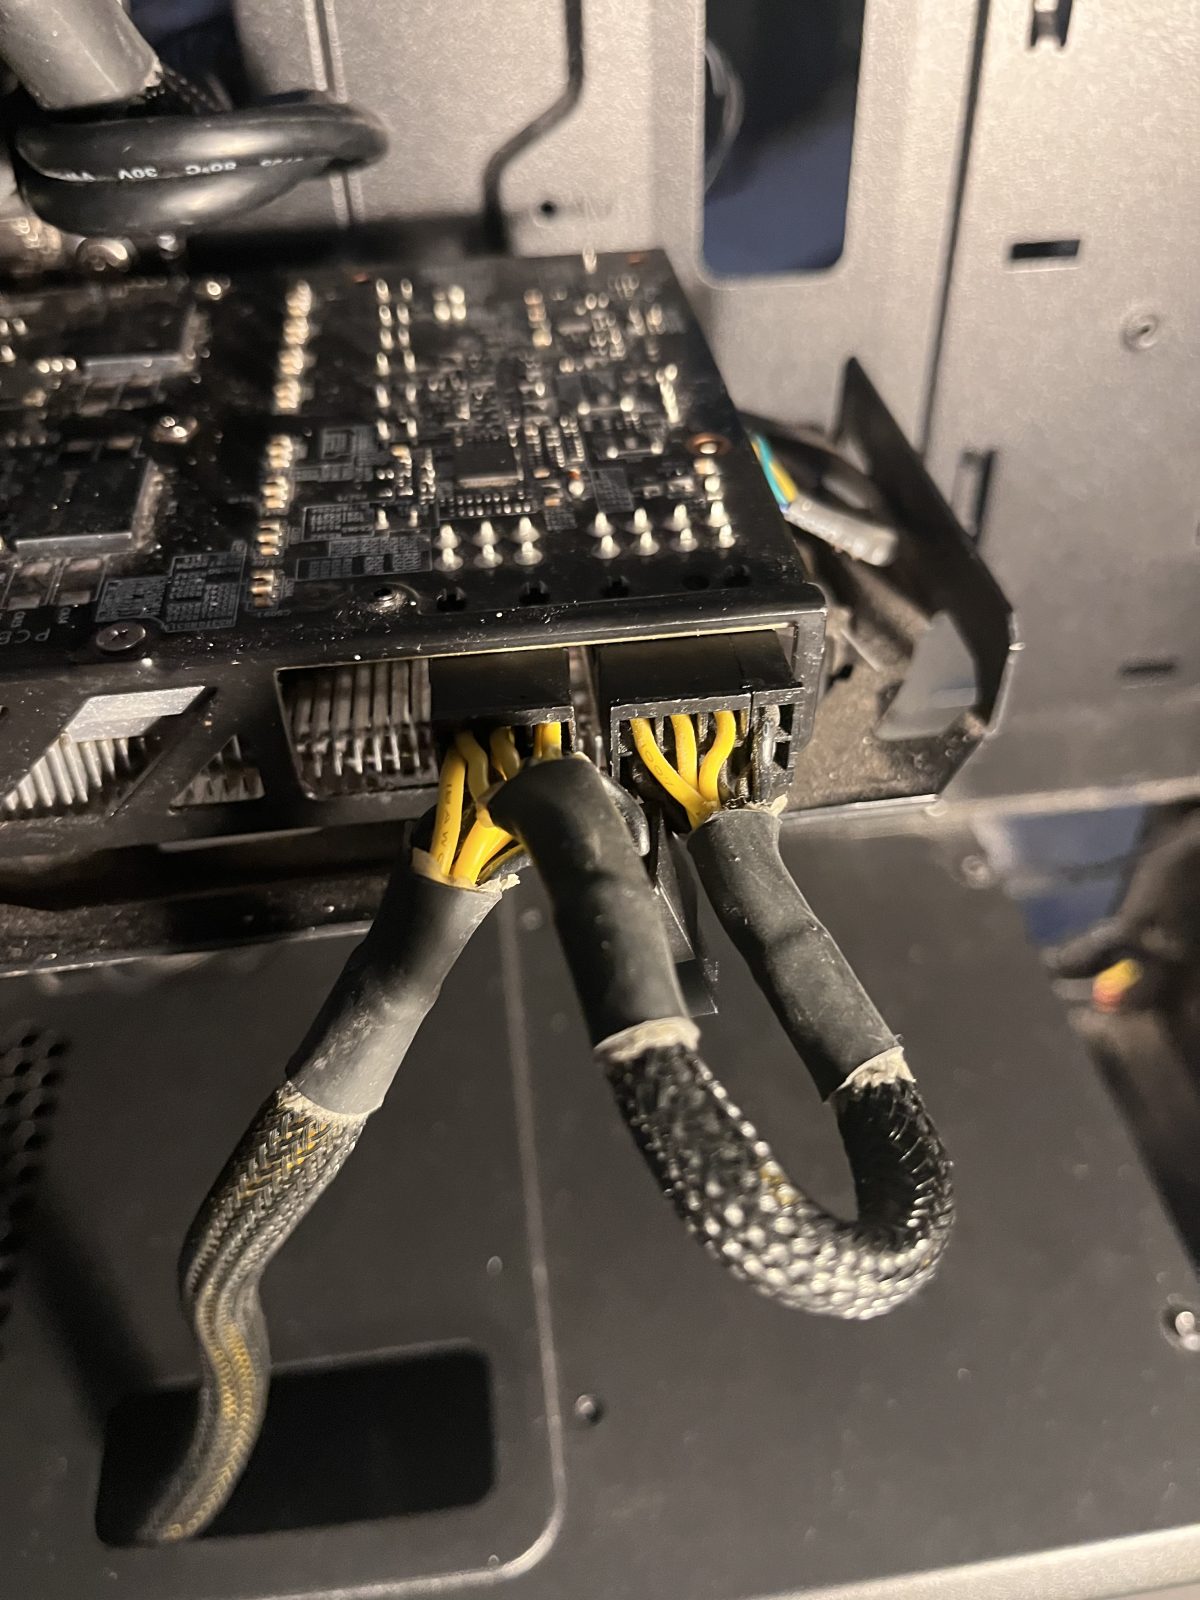
The Kingston SSD went into a drive bay with a SATA data lead to the board and a SATA power lead from the PSU. Then the GTX 760 dropped into the top PCIe x16 slot — line it up, press until the slot clip catches, screw the bracket to the case and connect its PCIe power cable.
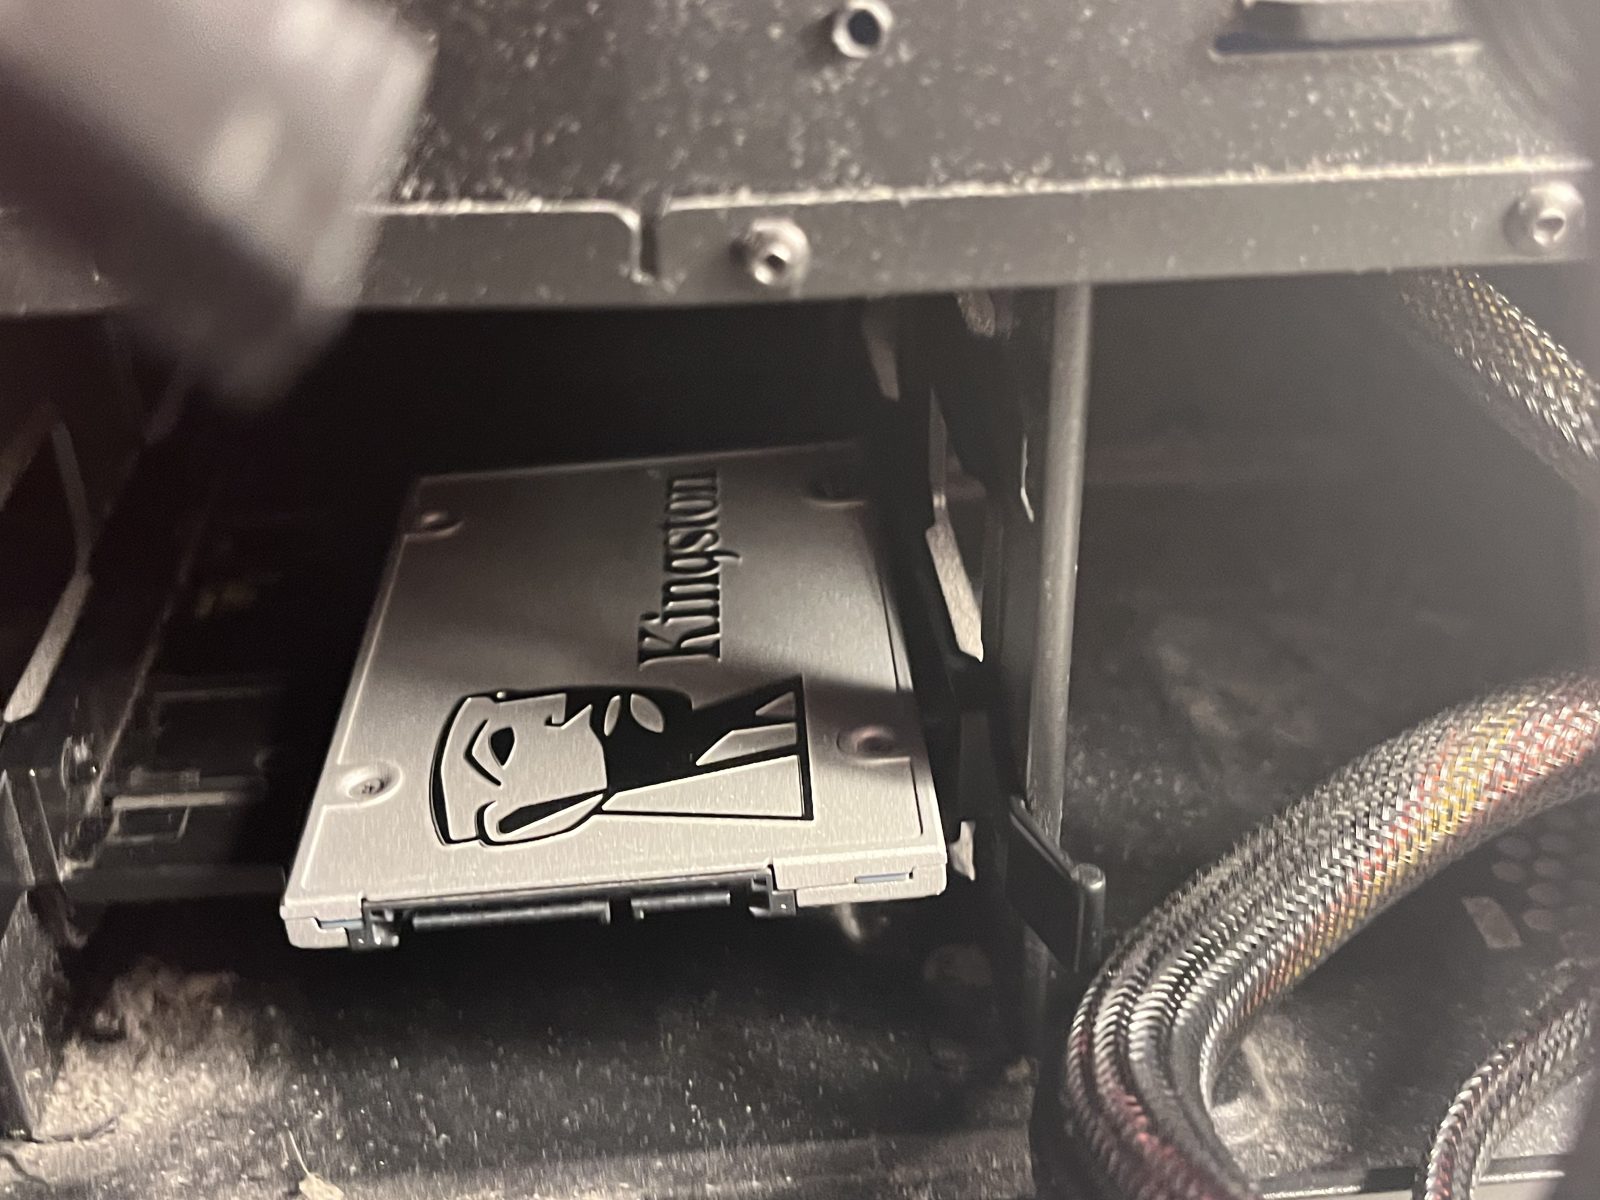
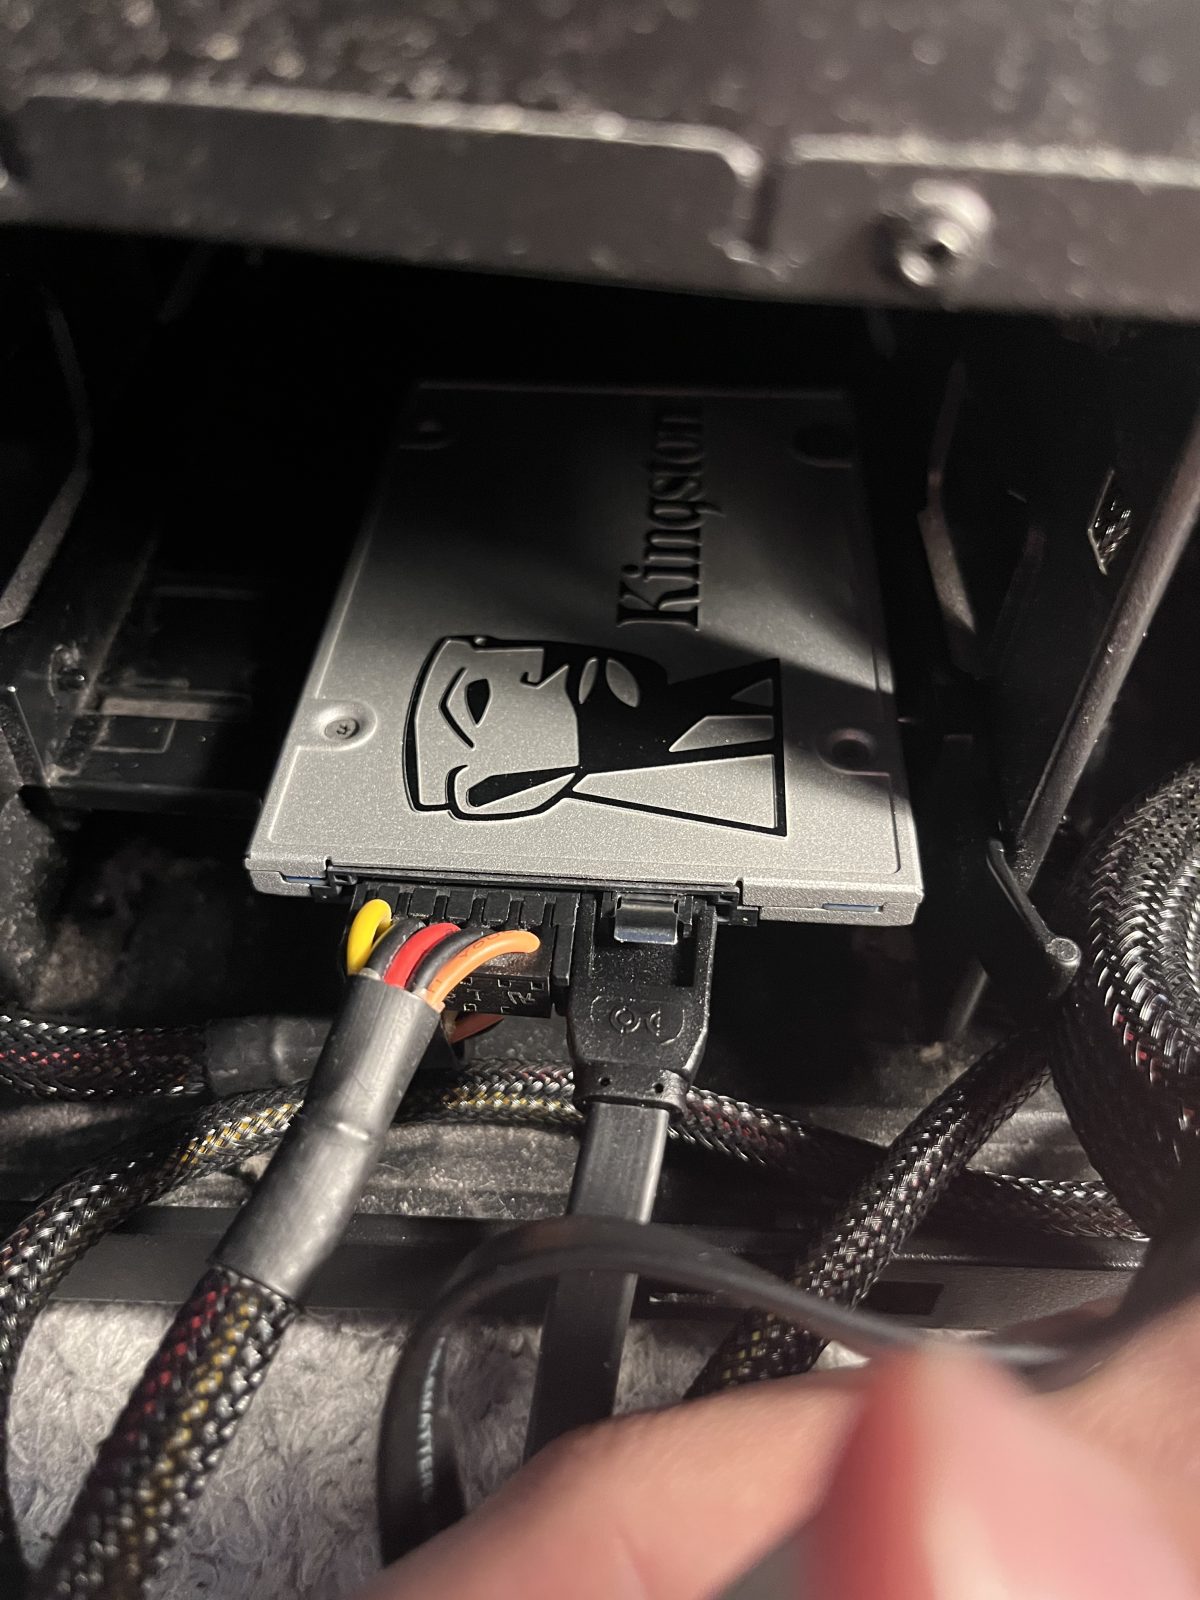
First boot and POST
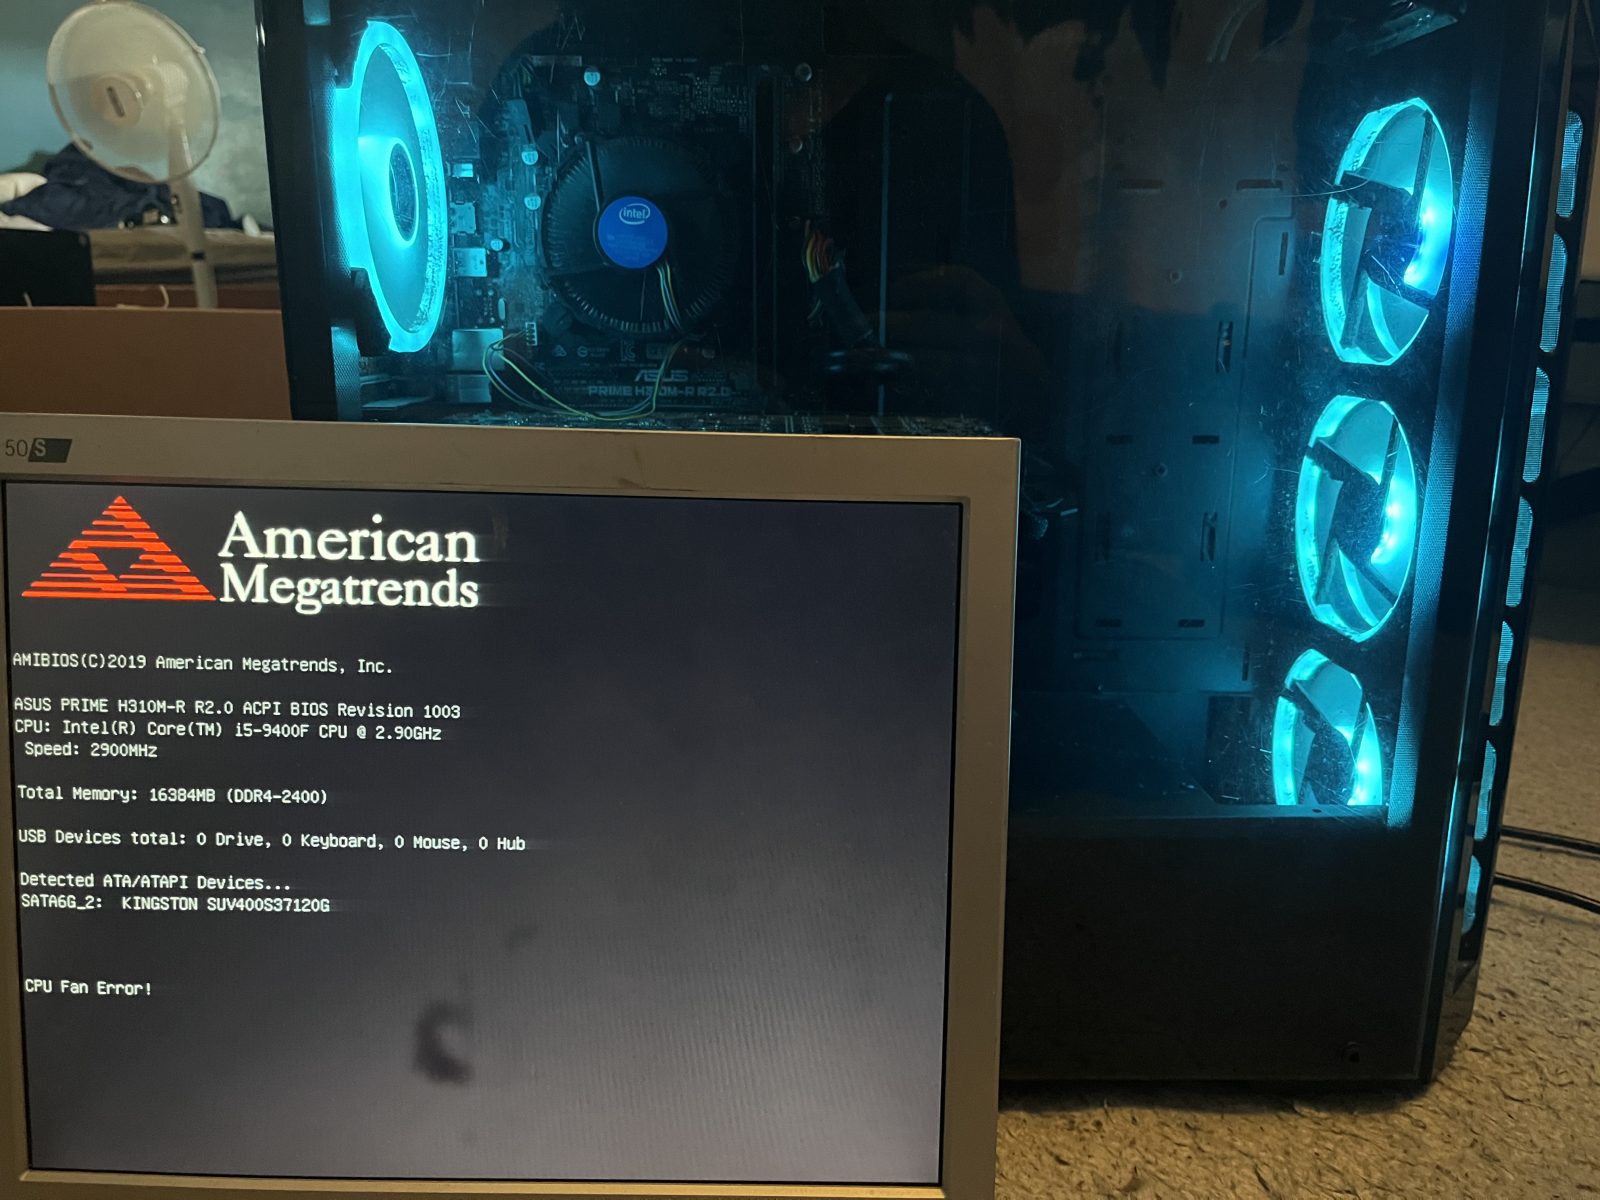
Everything connected, I hit the power button for the first time. The board POSTed straight away and the BIOS read everything back correctly — the i5-9400F, 16384MB of DDR4-2400 and the Kingston SSD all detected. A clean POST is the moment a build proves itself: every part is seated, powered and talking to the board.
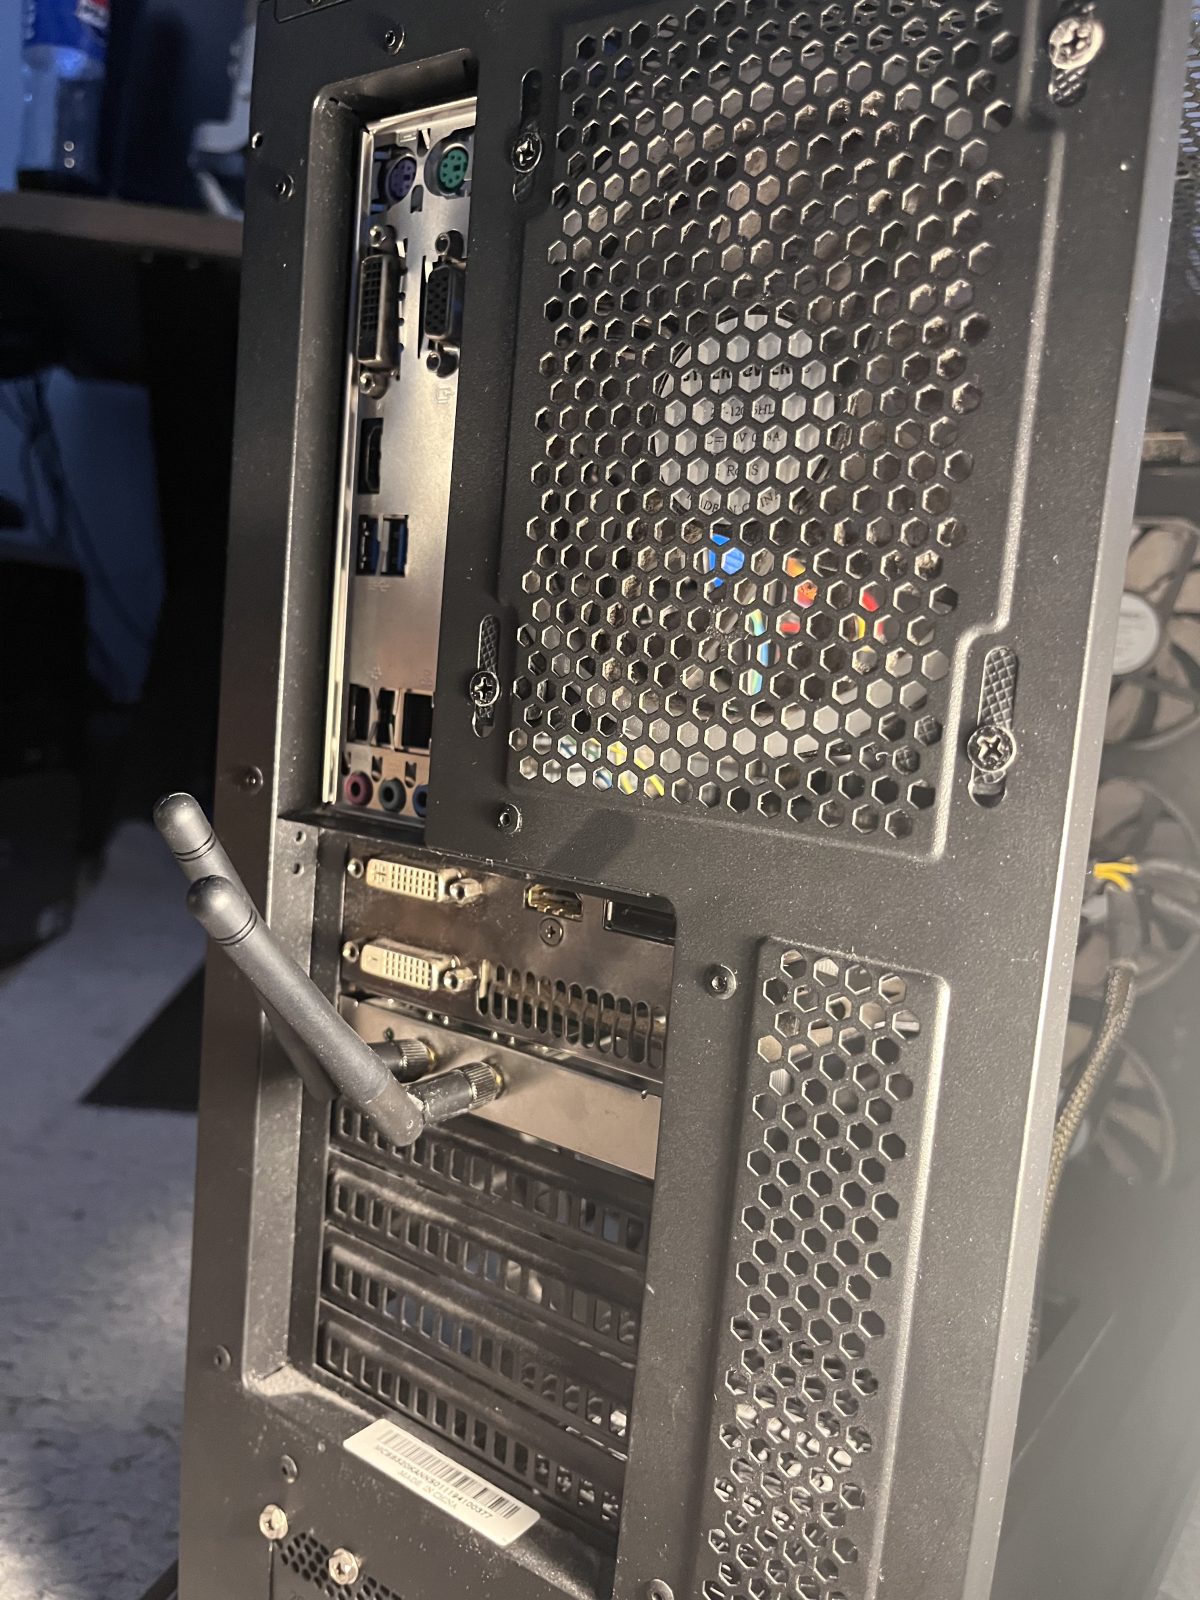
Ready to run Proxmox
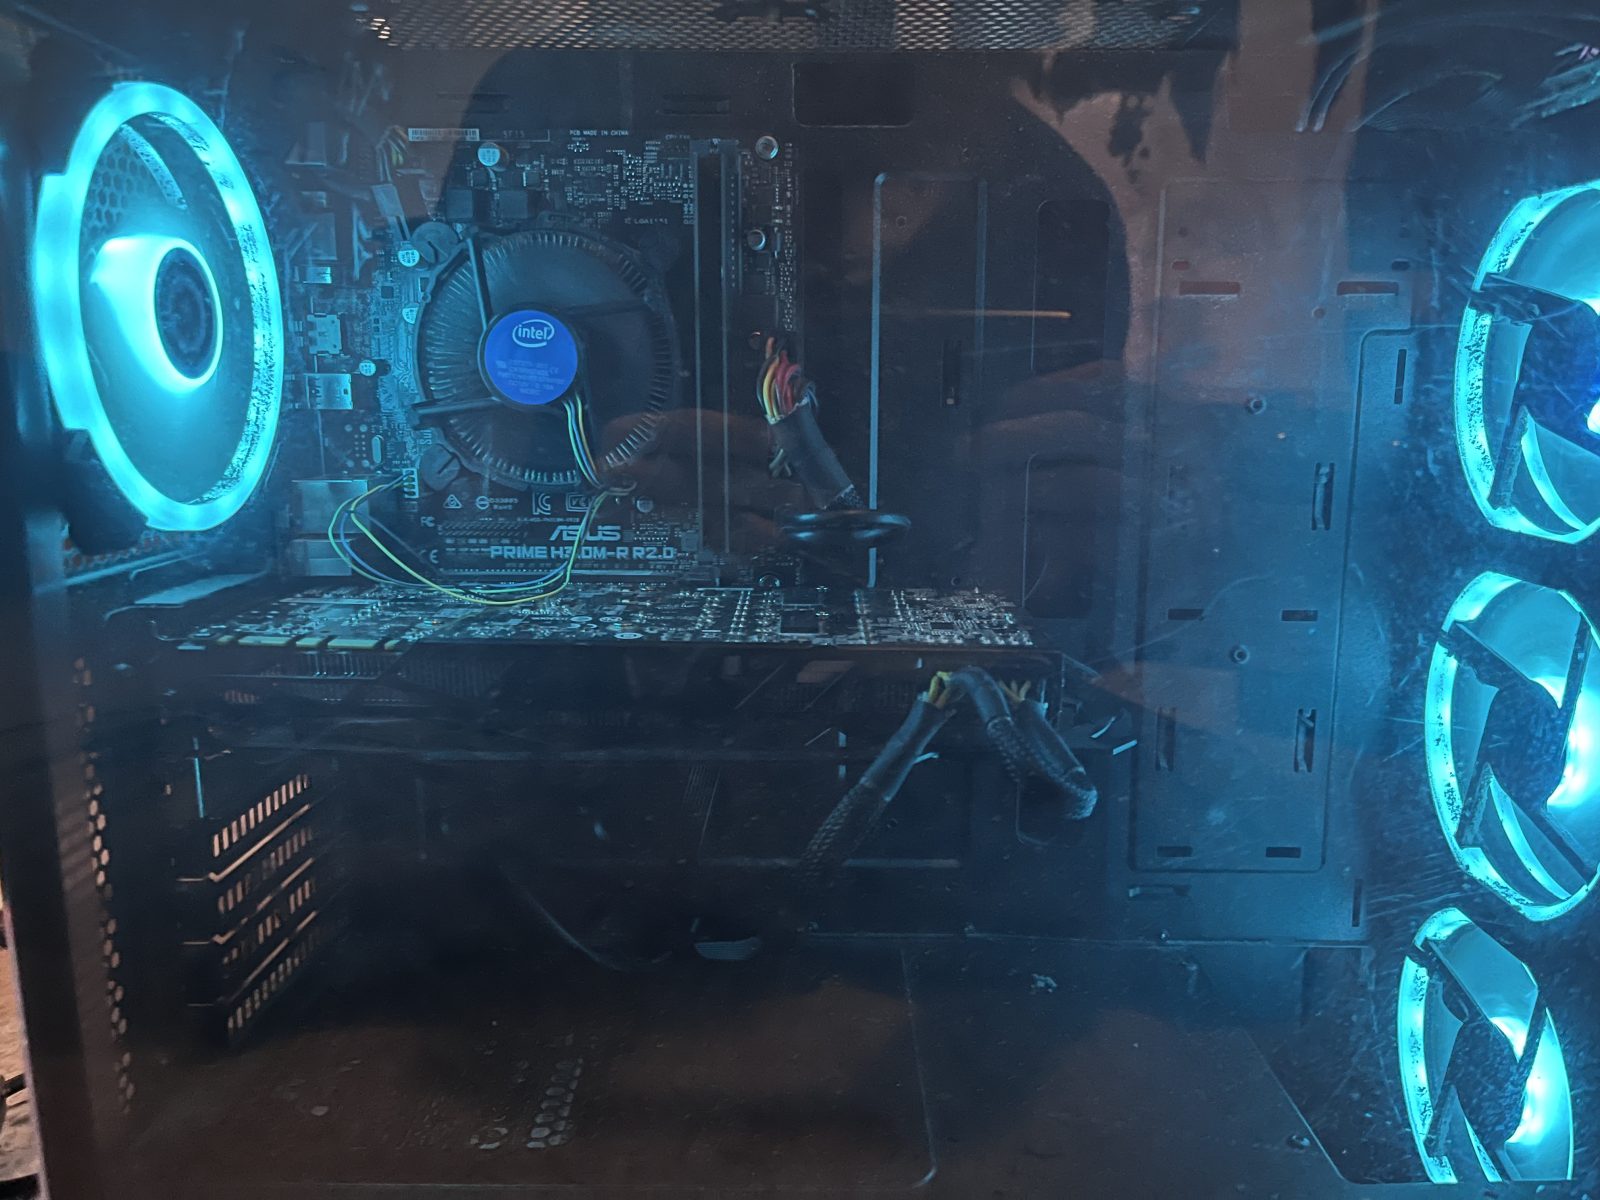
Built, booting and detecting every component. From here it became the box the whole homelab runs on; the Proxmox install and everything after it is on the homelab page.
Related project
First-Line Support Homelab
This machine became the homelab hypervisor — it now runs the Windows Server 2022 domain and everything around it.